Creating a Workbook
- Juliane Wetzel (Unlicensed)
INFO
Find all information how to create a Workbook here.
Creating a new Workbook
To create a workbook:
- Click on the "+" button and select "Workbook" or right-click in the File Browser and select "Create New"→ "Workbook". The dialog 'Add Data' opens.
INFO: A new Workbook is already created in the background with the default designation "Workbook". If there is already a Workbook "Workbook" the name for the ne Workbook will change to "Workbook 1" and so on.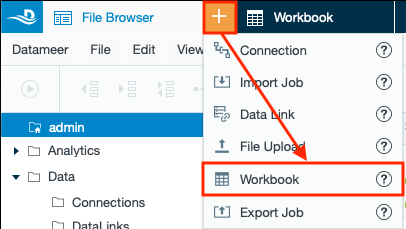 or
or 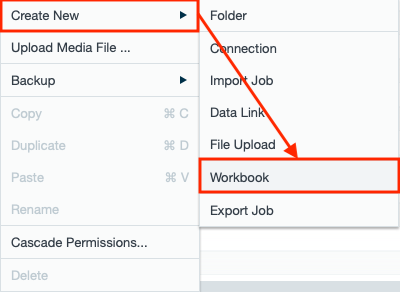
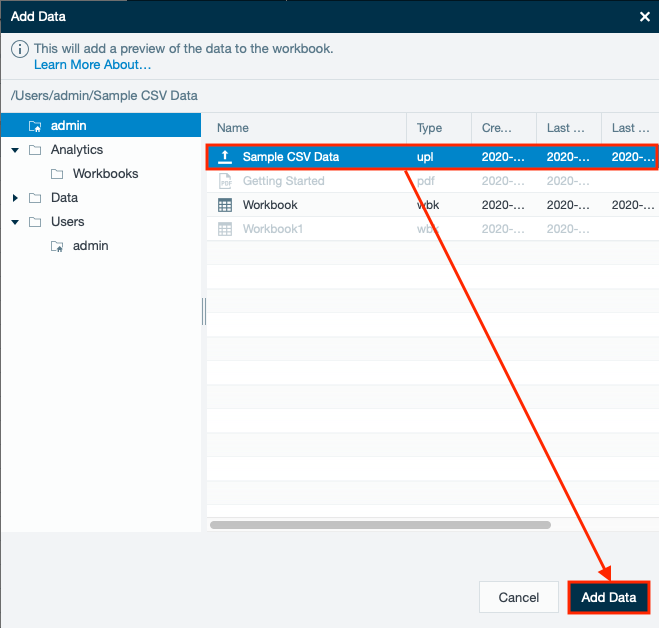
- Select the folder where the data source is located, select the data source and confirm with "Add Data". The Workbook opens.
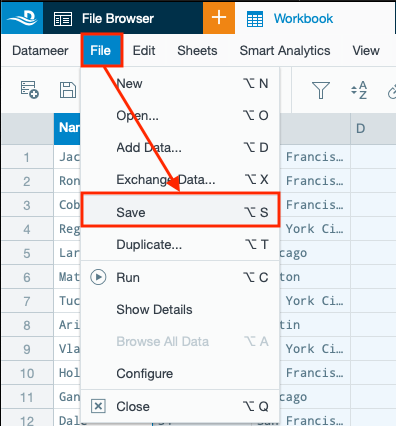
- Click on "File" and select "Save". The "Save" dialog opens.
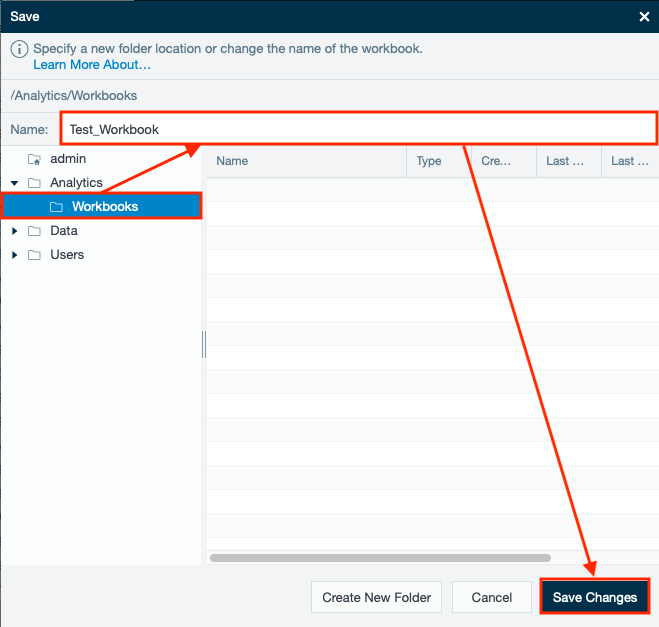
- Select the folder where the Workbook shall be saved in, enter the Workbook name and confirm with "Save Changes". Creating a Workbook is finished.
INFO
When using data from a sheet in another workbook or an import job, the data from that source sheet is copied to the new sheet if the new sheet is marked as kept. In previous versions, the source sheet was referenced instead, which led to workbook data not being deleted by housekeeping.
The workbook is populated with a sample of data from that data source. To use data in Datameer X that data must be part of a data source. If you have a source of data you want to use for analysis, such as an Excel spreadsheet, you need to create a data source using that data, or have a system administrator create one for you.
Sample data and full data
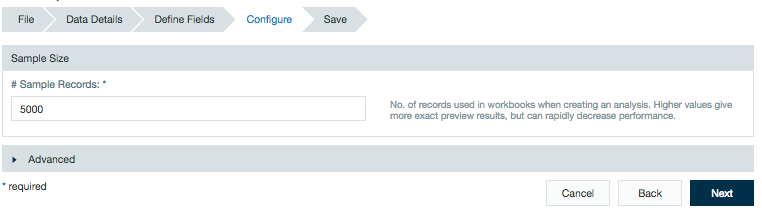
Data displayed in Datameer X workbooks is a sampling of the full data from the source. When creating or editing an import job, file upload, or data link, you set the number of sample records to populate a workbook from the specific data source being used.
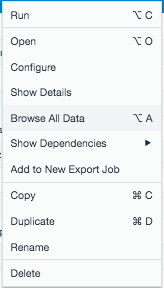
A data source added to a workbook displays the number of sample records configured for that source. When creating calculations in the workbook, those calculations are being applied only to the sample data until the workbook has run. After running a workbook, the calculations made in the workbook are applied to the full data and can be viewed or downloaded by right-clicking on the workbook and selecting Browse All Data.
The next time the workbook is opened after running, while the calculations have been applied to the full data, you still view the sample size configured from the data source.
Status notifications have been added to the bottom of workbook worksheets to show if the worksheet is displaying information based on sample or full data and if the worksheet is filtered.
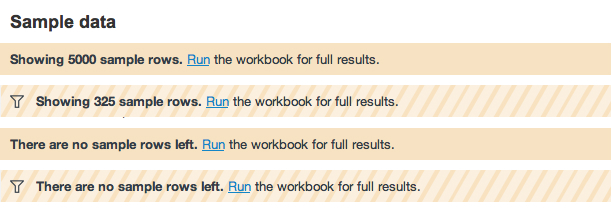
Sample data messages
If the worksheet's calculations are based only on sample data, the notification is orange. It tells you how many sample rows are being displayed in the worksheet and that you can run the workbook to display the sheet calculations based on the full data from the data source.
If the worksheet is displaying no information, this could be that none of the original sample data fits the criteria of the calculations. Running the workbook takes into account all current worksheet calculations and might bring in new sample data to populate the worksheet if data from the data source meet the calculation criteria.
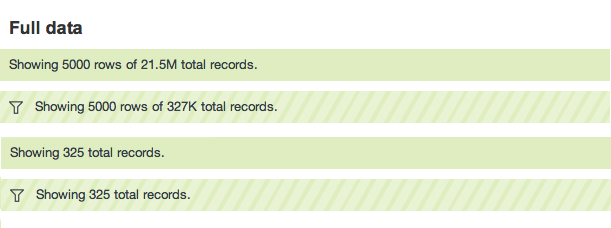
Full data messages
If the worksheet's calculations are based on the full data, the notification is green. It tells you how many sample rows are being displayed in the worksheet out of how many total records from the data source. If all the records of the source are being used, the status bar displays the total record count.