S3
Prerequisites
INFO
Datameer X needs to have the appropriate access level to establish a connection to a certain S3 bucket.
For that, you need the permission to the bucket's root folder with 'ListBucket'. Giving the permission to a subfolder instead, the connection attempt will fail.
Configuring S3 as a Connection
In order to import and export from S3, you must first create a connection.
- Click the + (plus) button and select Connection or right-click in the browser and select Create new > Connection.
- From drop-down list, select S3 as the connection type. Click Next.

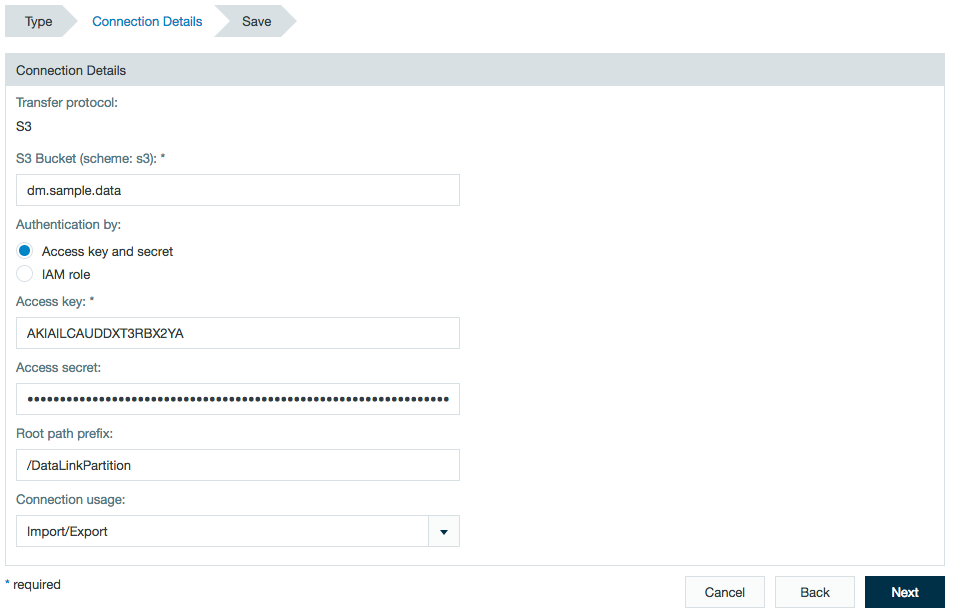
Add your S3 bucket name
Select if you want to authenticate through an access key and secret code or using IAM Role. (Datameer supports import/export from/to S3 encrypted buckets.)
Add the root path prefix, if necessary.
Indicate if the connection should be used for import, export, or both.As of Datameer 7.4
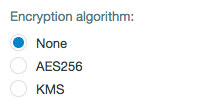
Encryption support has been implemented. Select between Amazon Web Services' AES256 and KMS.
- Click Next.
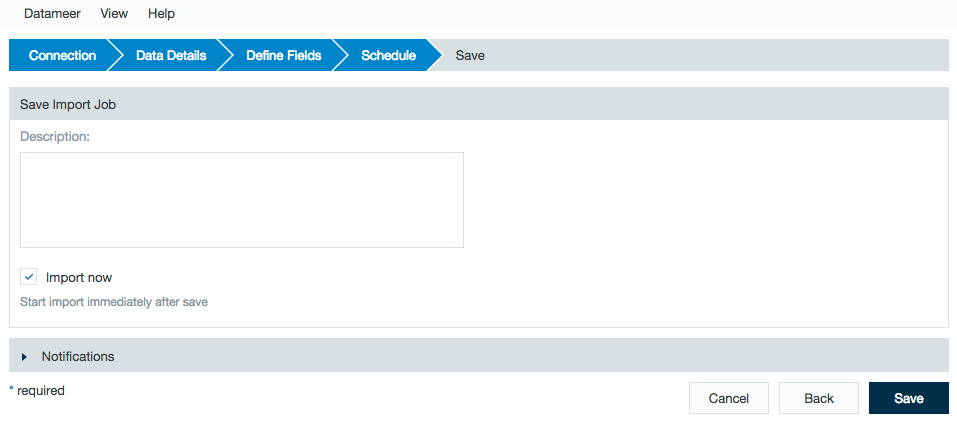
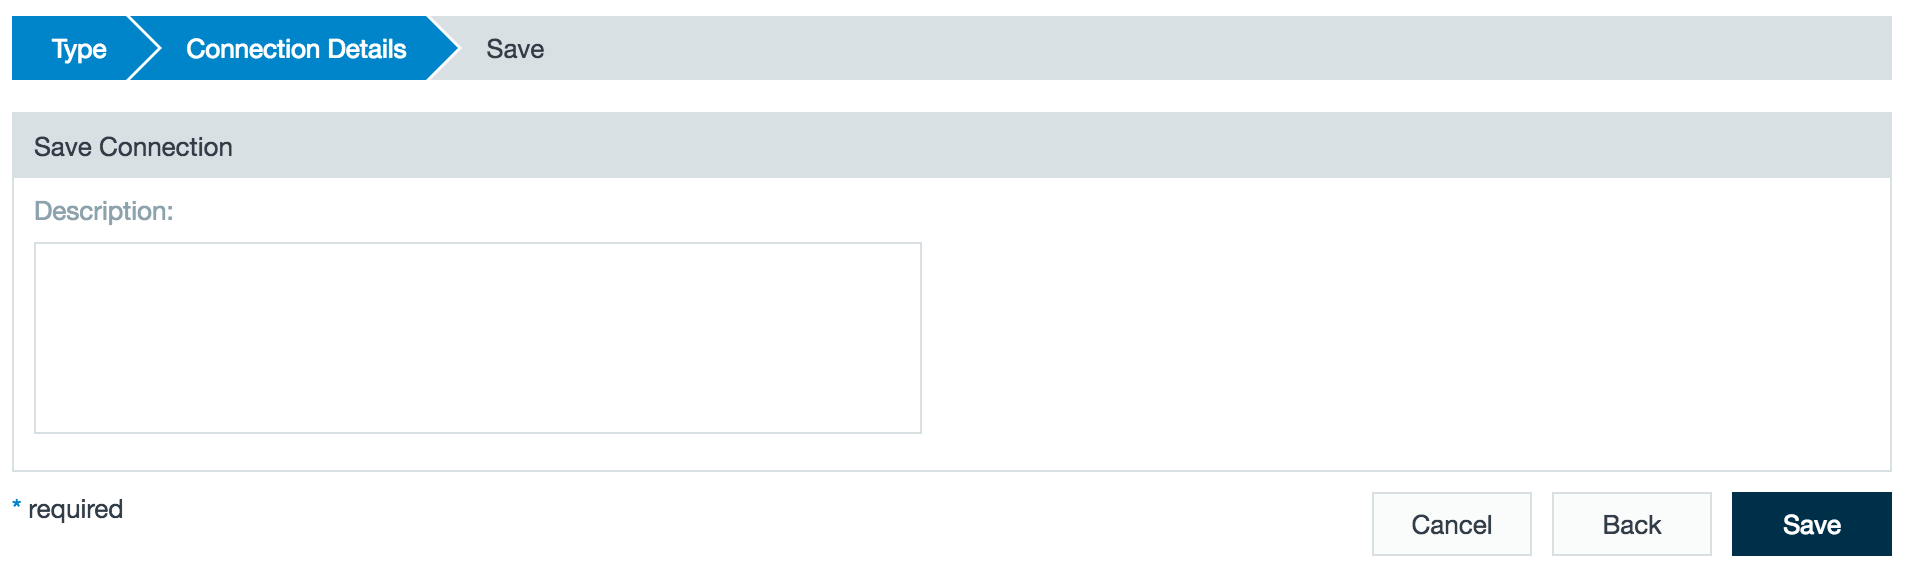
- If required, add a description and click Save.
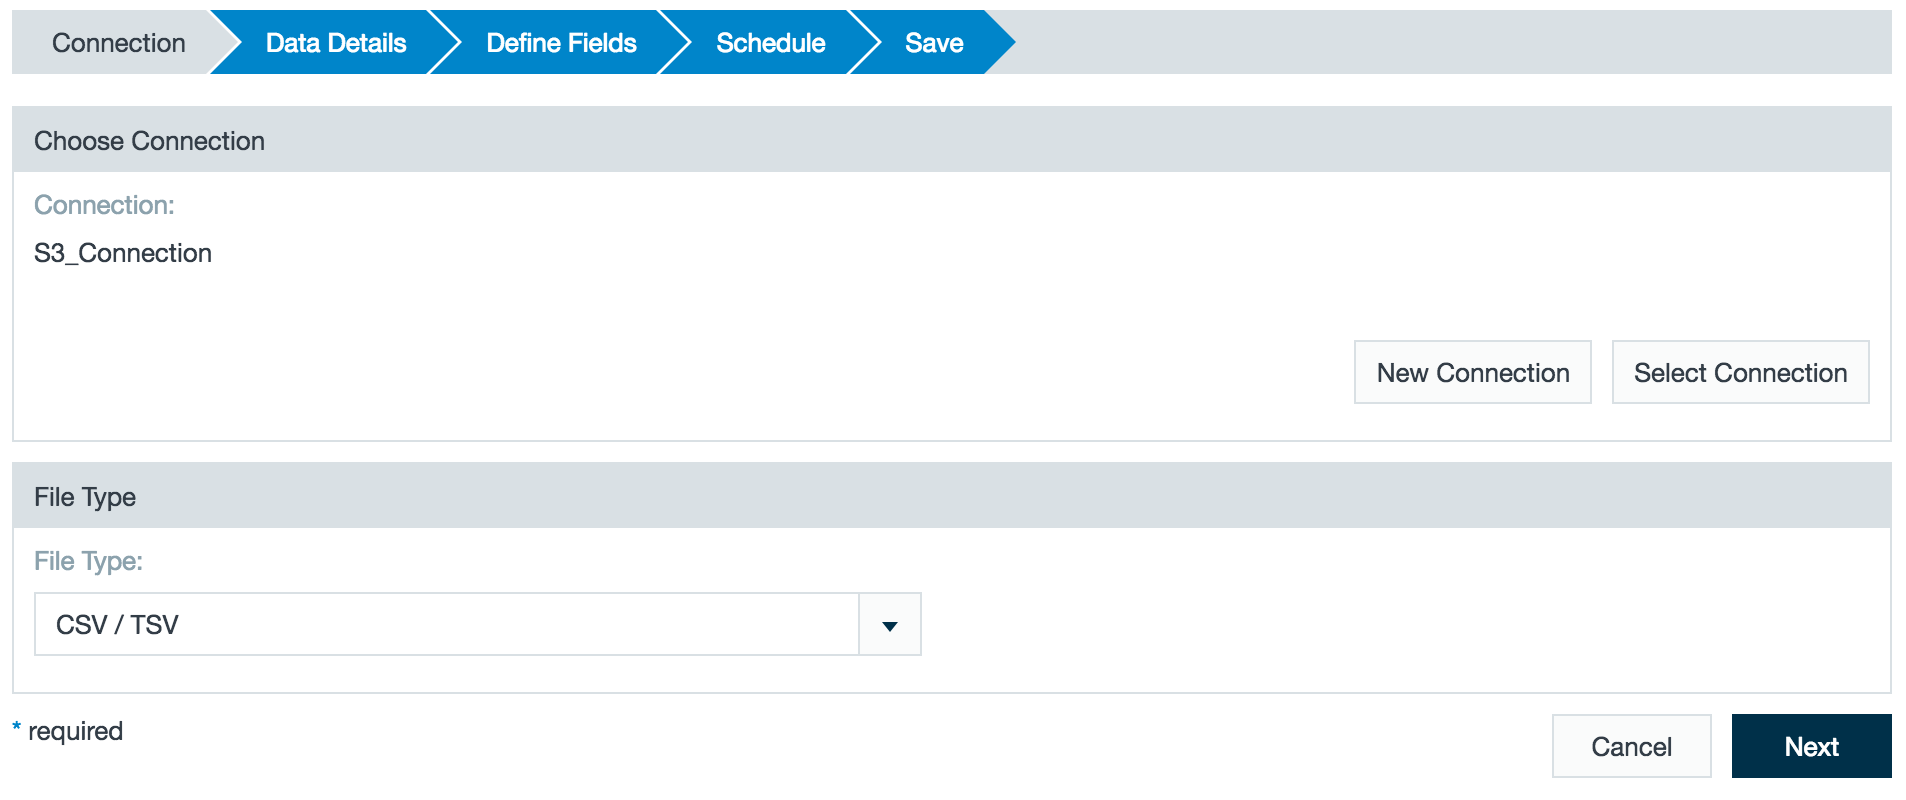
Importing Data with a S3 Connector
This connector isn't able to import from S3 buckets without access to read the metadata over the getObjectMetadata() method.
After configuring a connection to S3, you can set up an import job to access the connection.
- Click the + (plus) button and select I mport Job or right-click in the browser and select Create new > Import job.
- Click Select Connection and choose the name of your S3 connection (here - S3_Connection) then click Next.
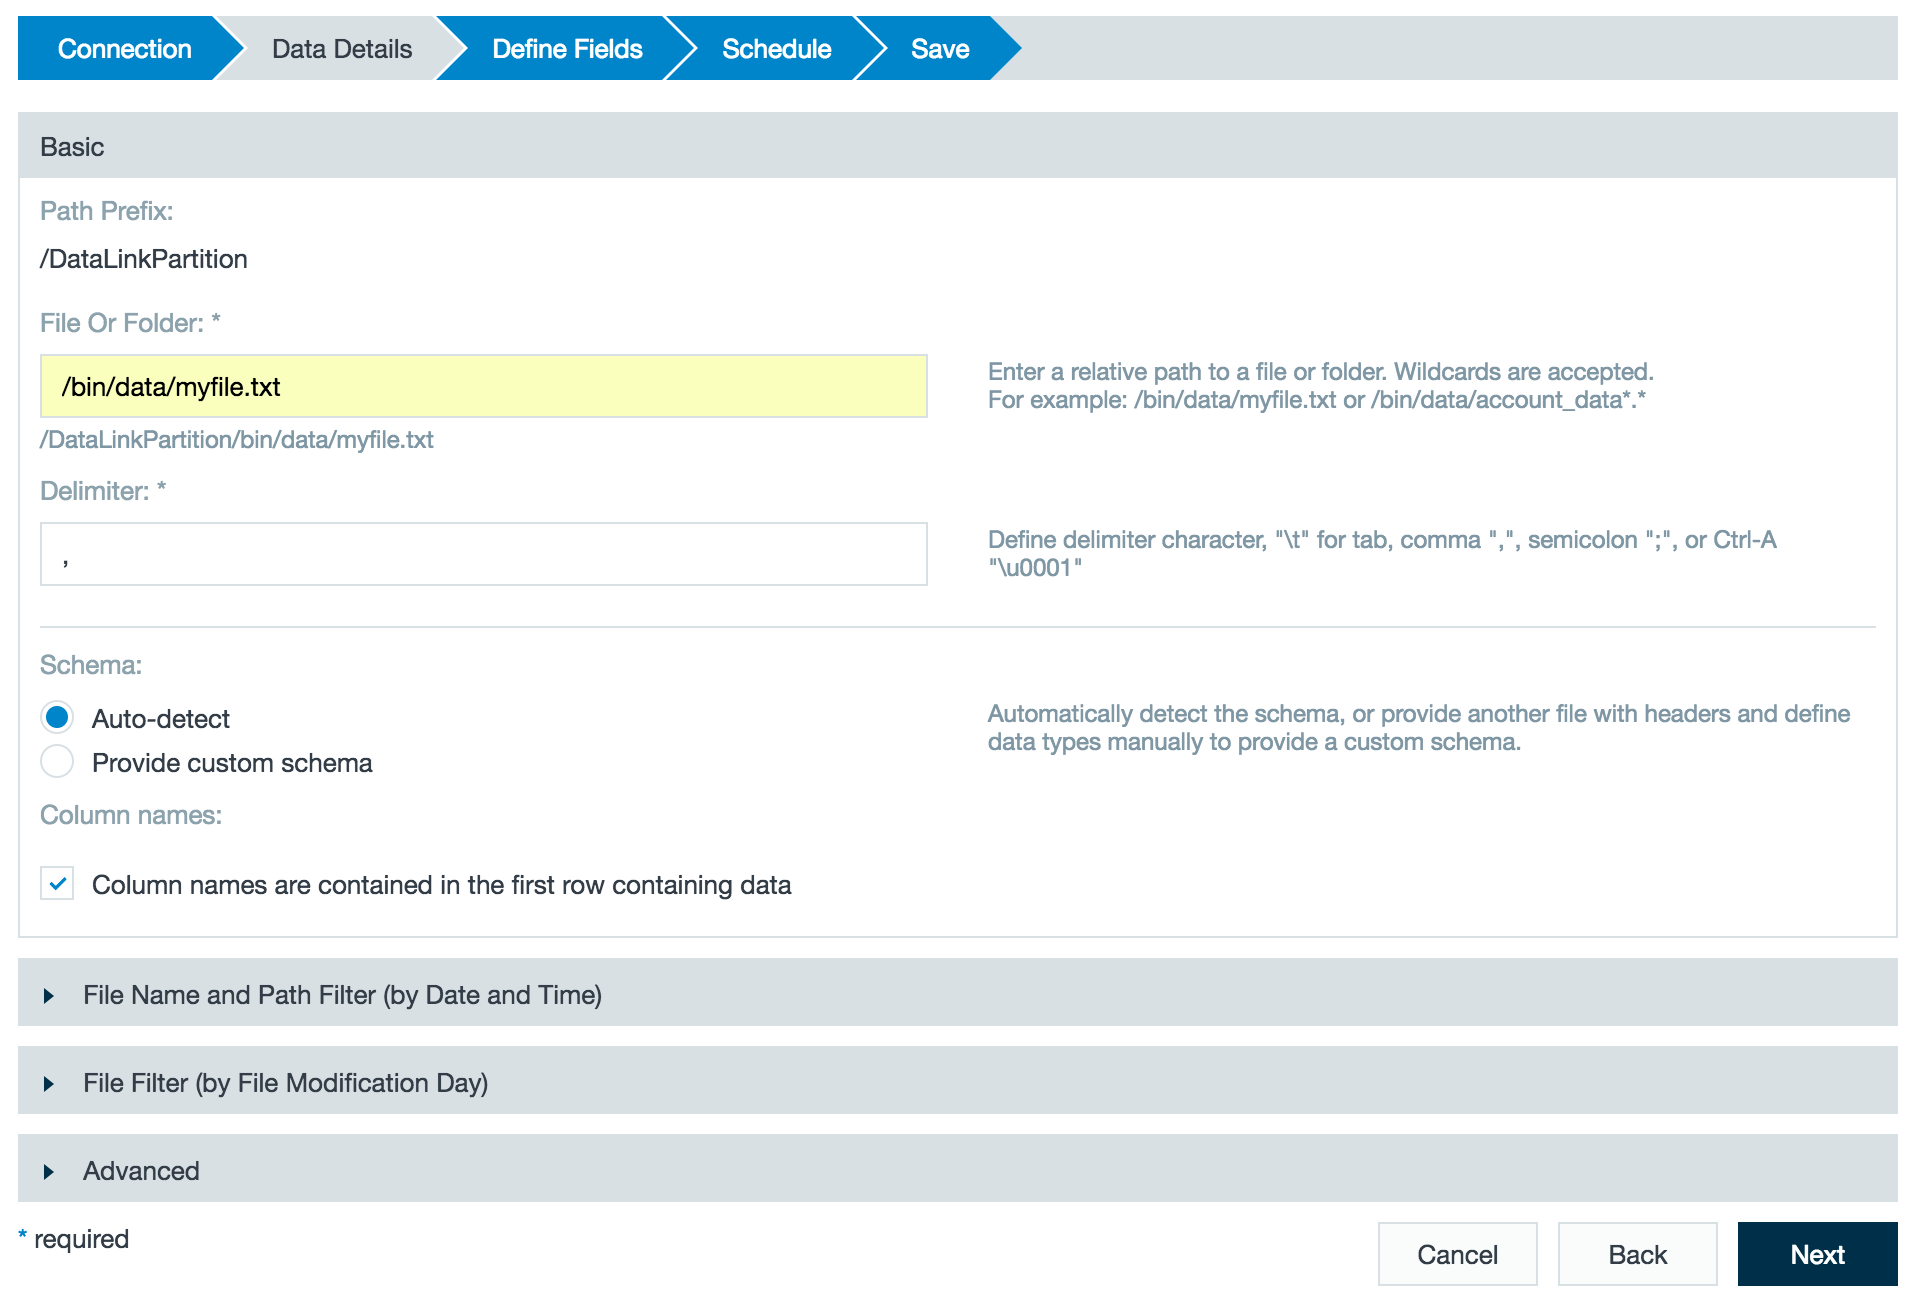
Enter the file or folder path and the delimiter.
Click Next.
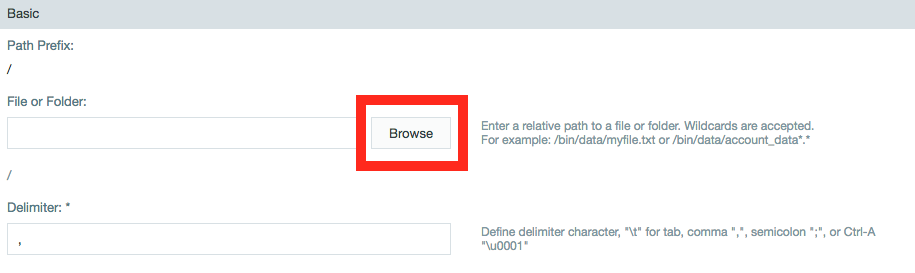
As of Datameer 7.4
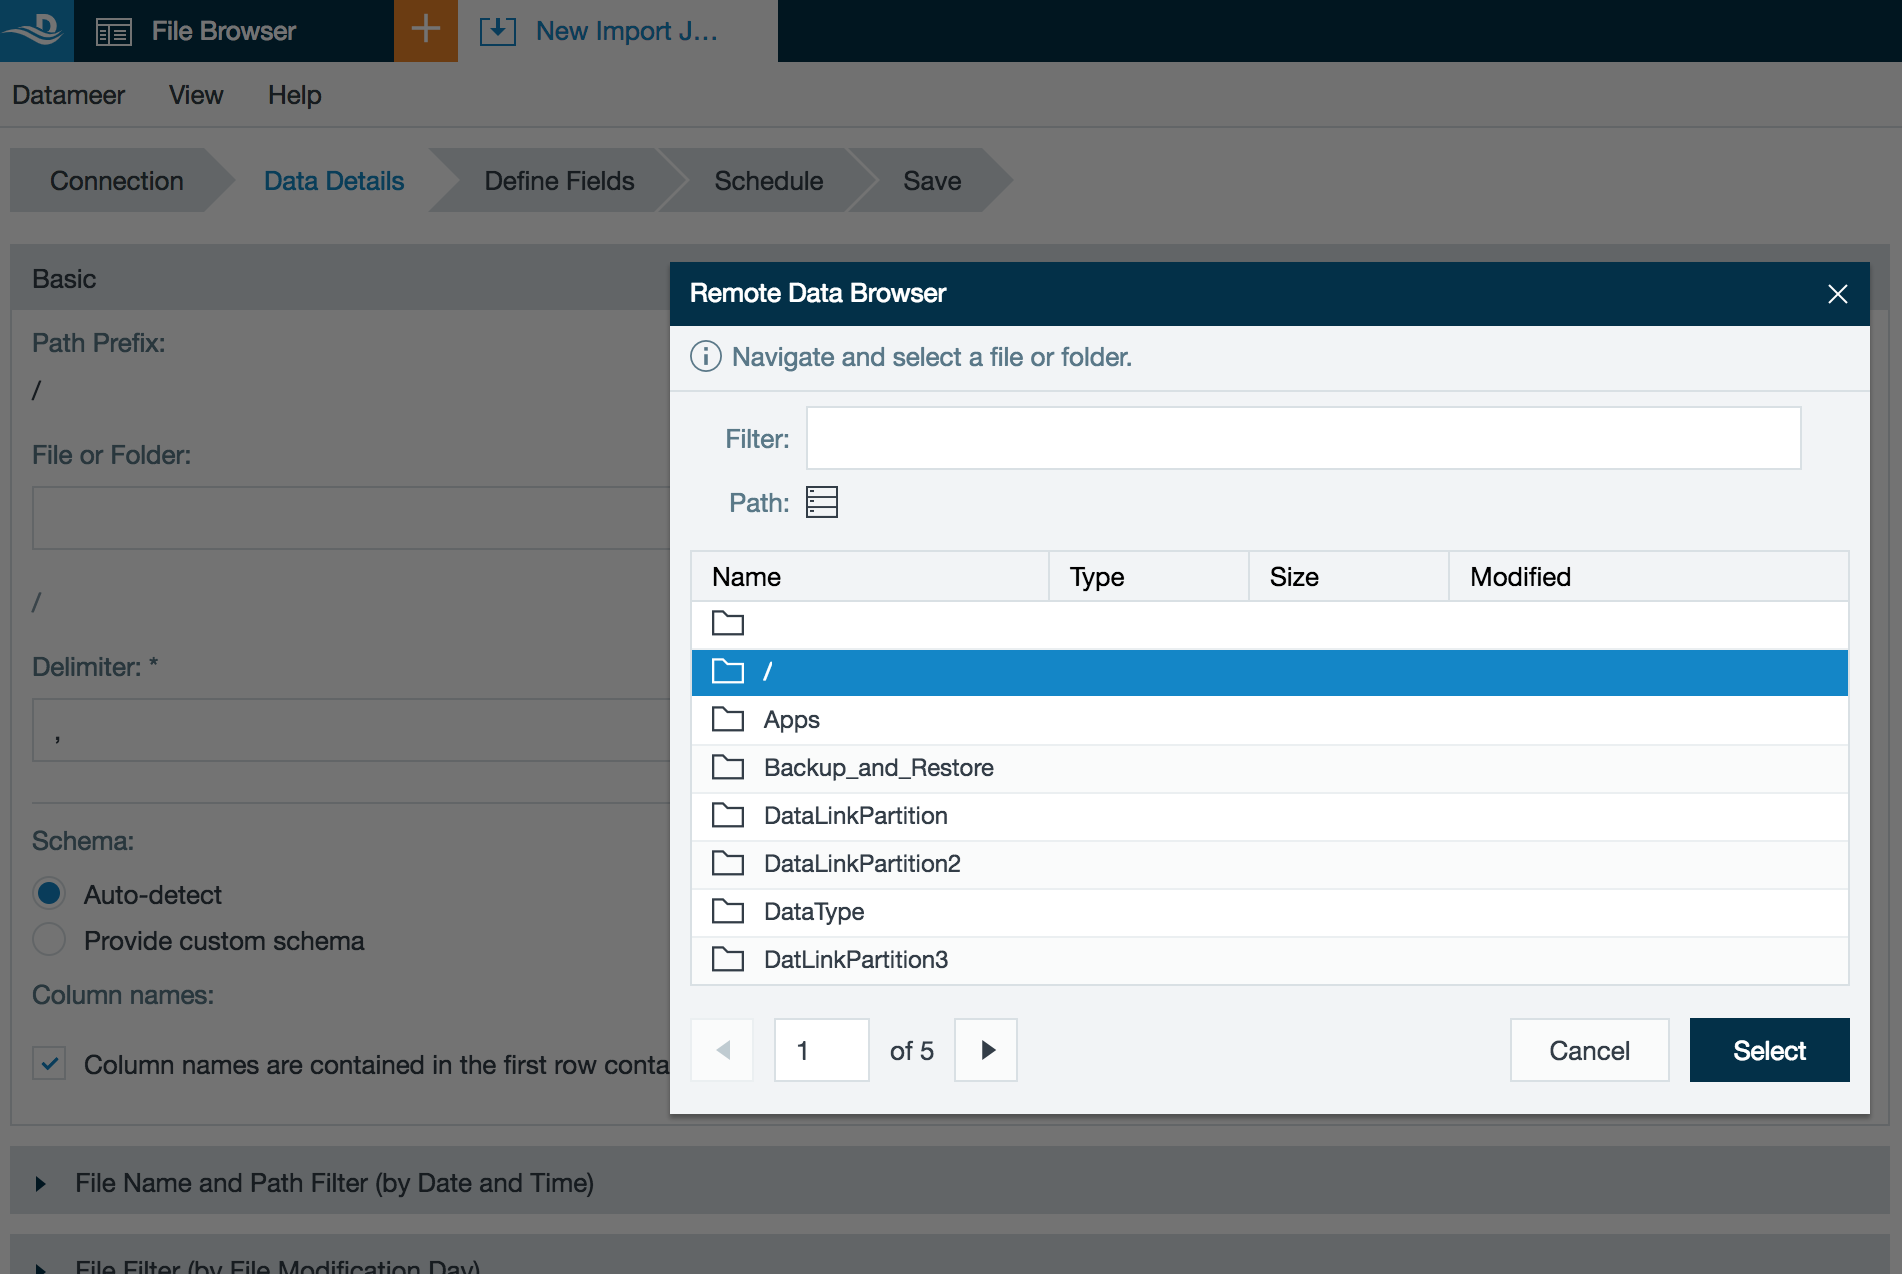
Datameer has added the Remote Data Browser feature. This file browser gives you a visual interface to select the file from your S3 bucket for which to import.
The filter box at the top of the Remote Data Browser can be used to find folders/files within the current directory.
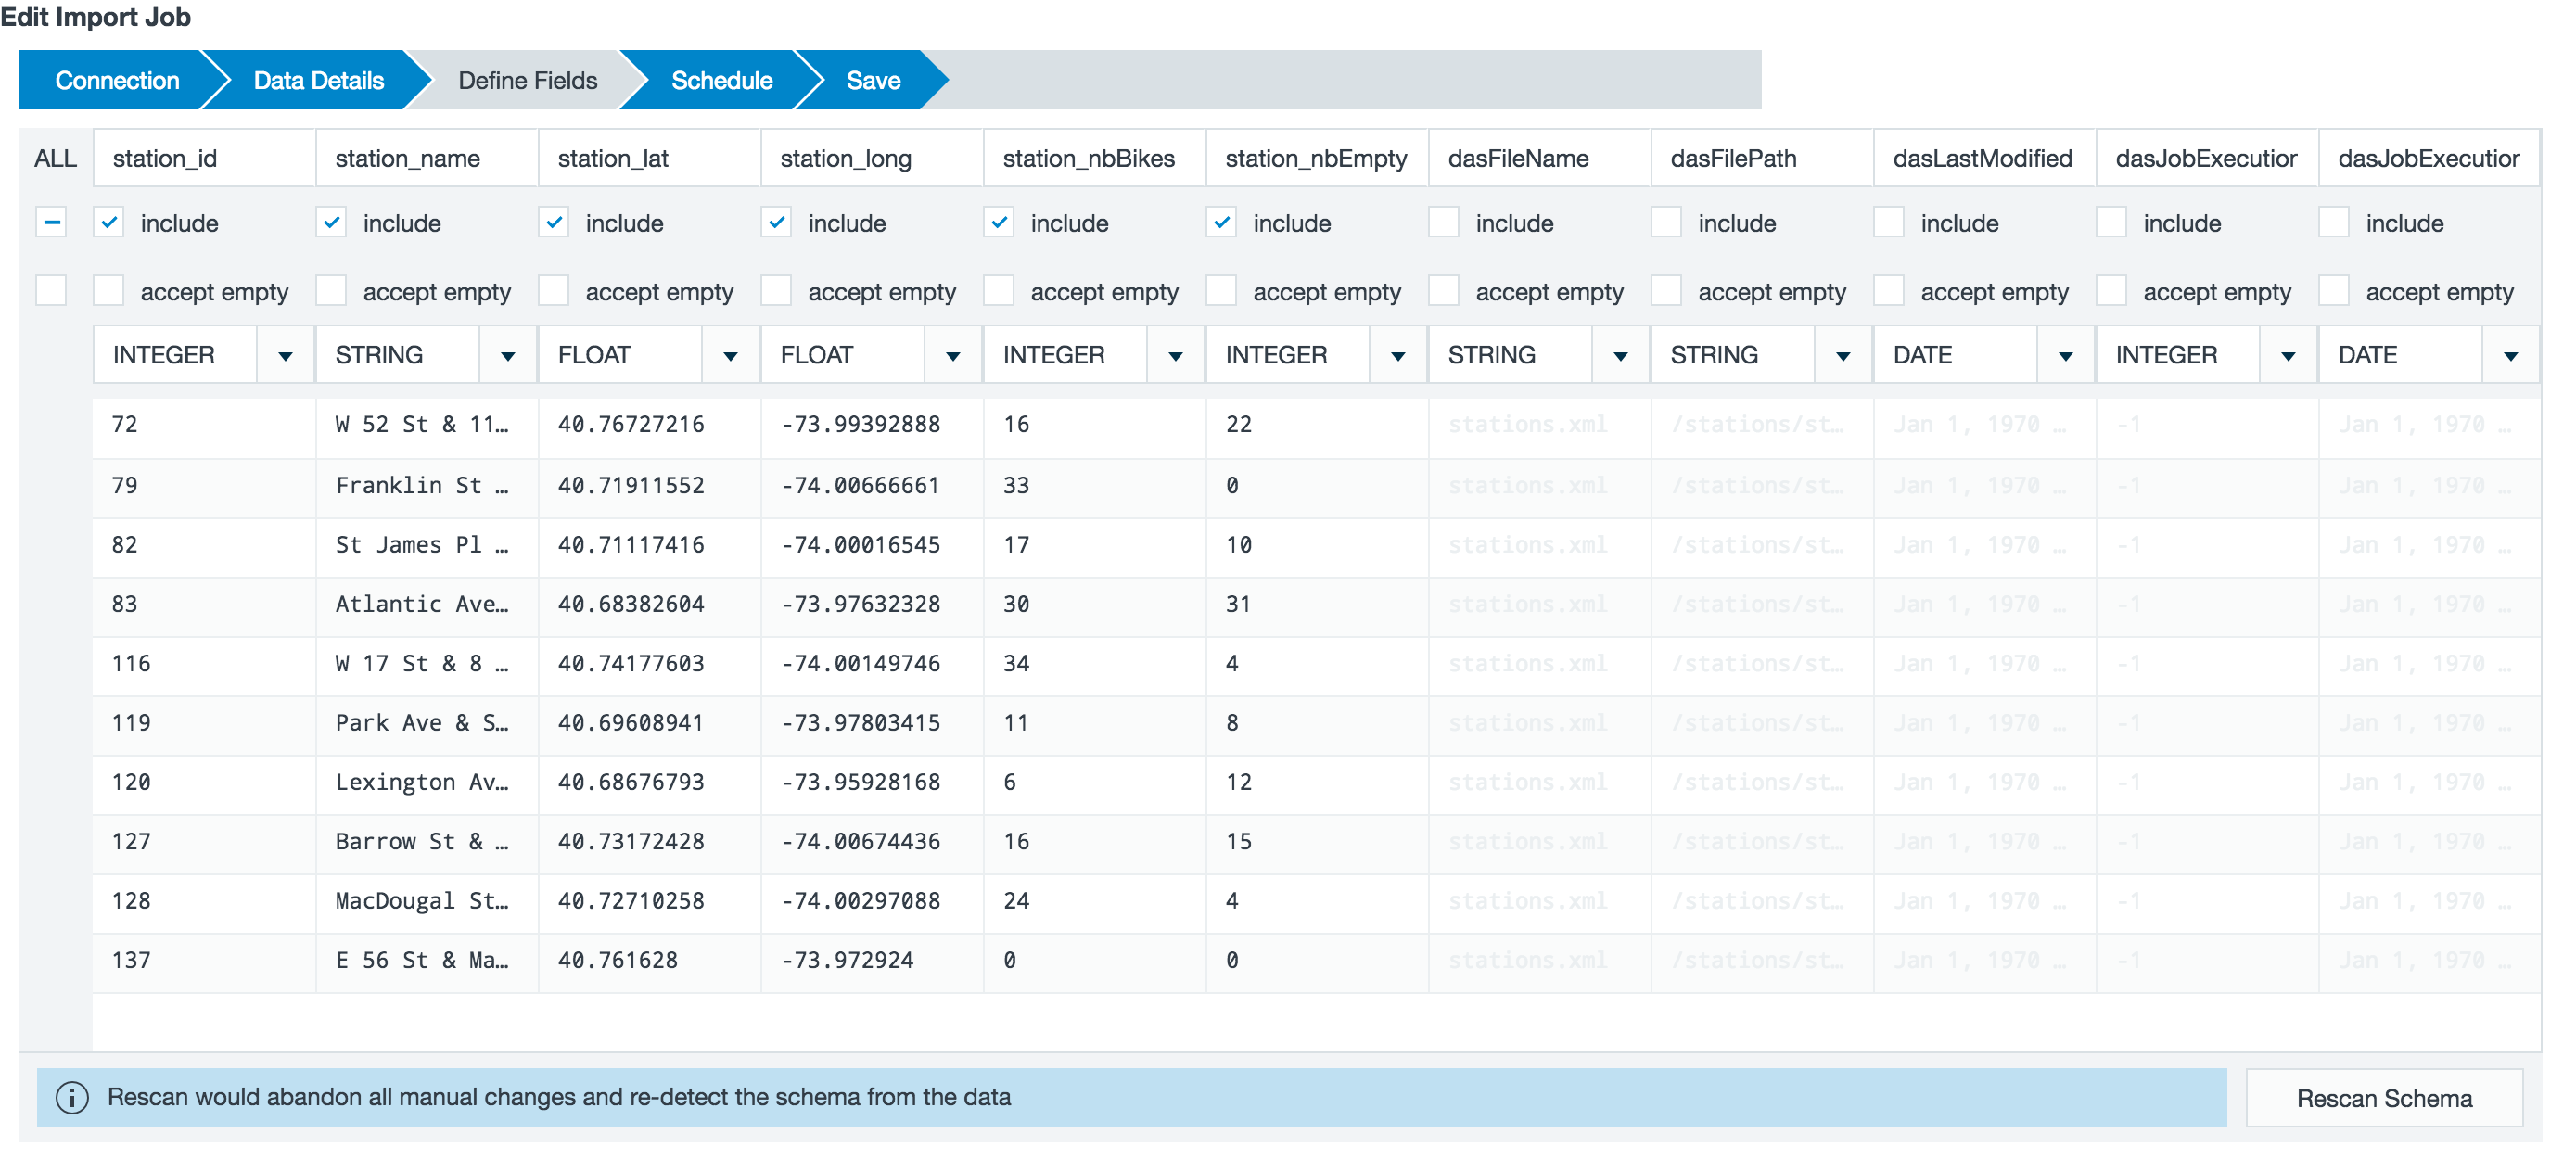
- A preview of the imported data is displayed. Review the schema.
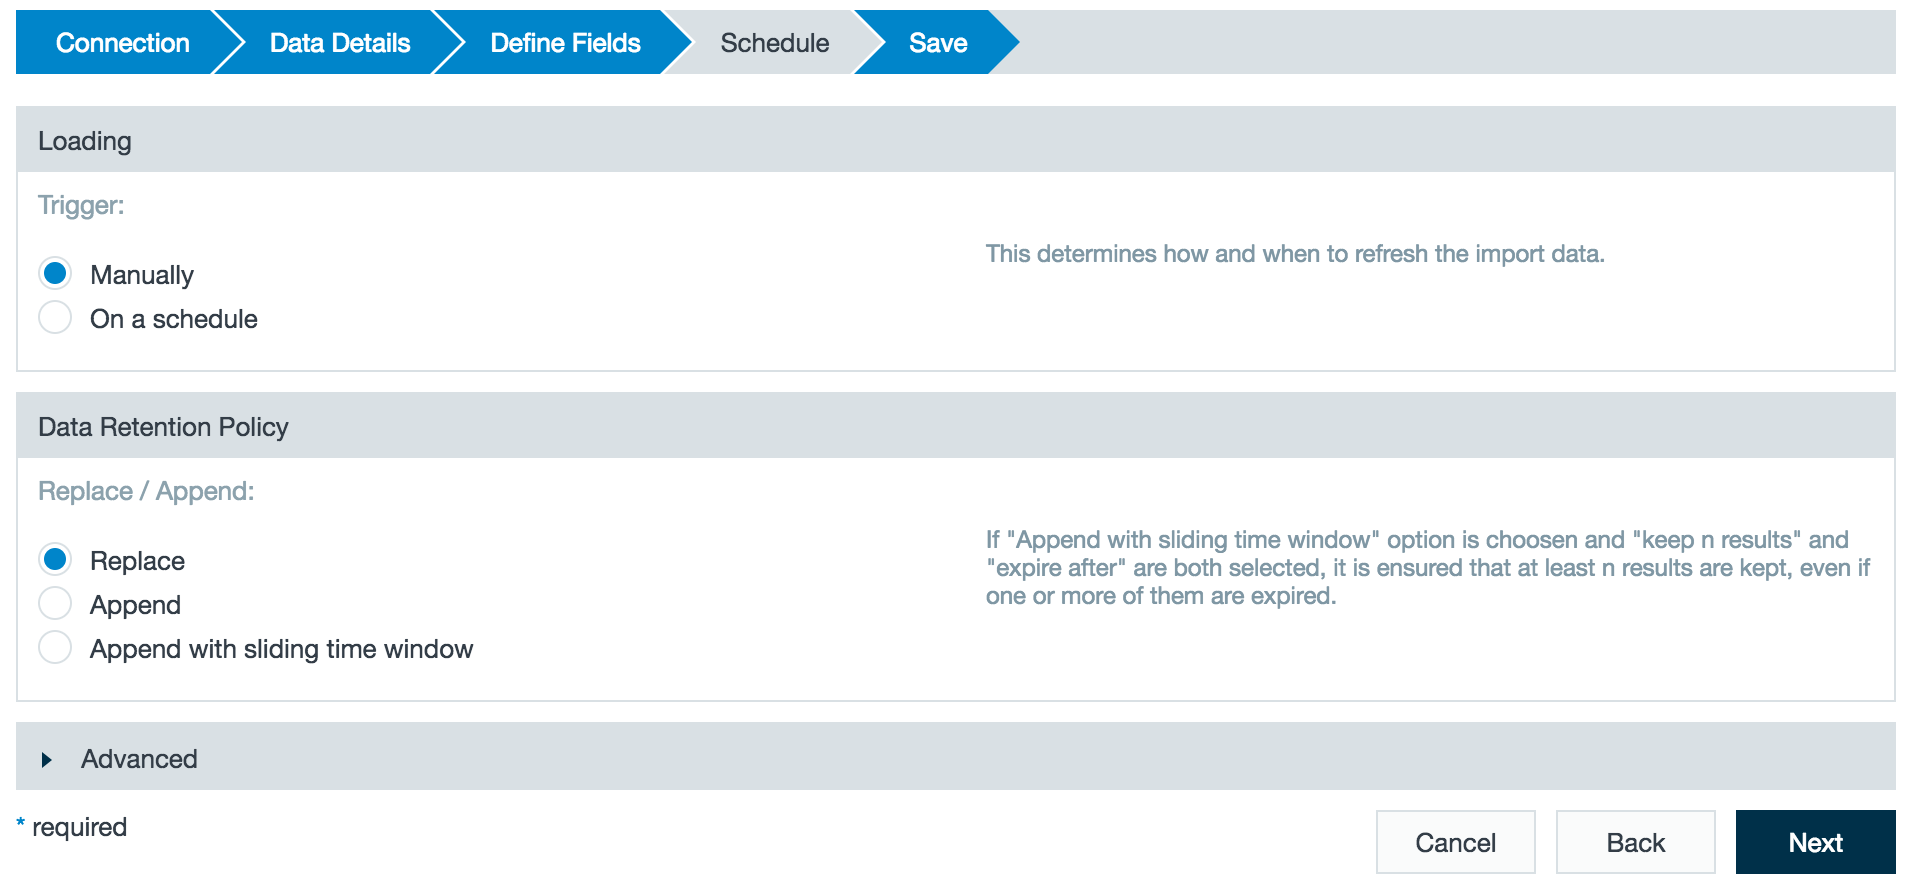
- Review the schedule, data retention, and advanced properties for the job.
- Add a description, click Save, and name the file.