Azure Blob Storage
Azure Blob Storage
- Juliane Wetzel (Unlicensed)
Owned by Juliane Wetzel (Unlicensed)
Last updated: Jun 09, 2021
INFO
This connector is only available as a separate plug-in for distributions based on Apache Hadoop 2.7.0+. If you have problems in establishing the connections, please reach out to our service team.
Configuring Azure Blob Storage as a Connection
To import from Azure Blob Storage, you must first create a connection.
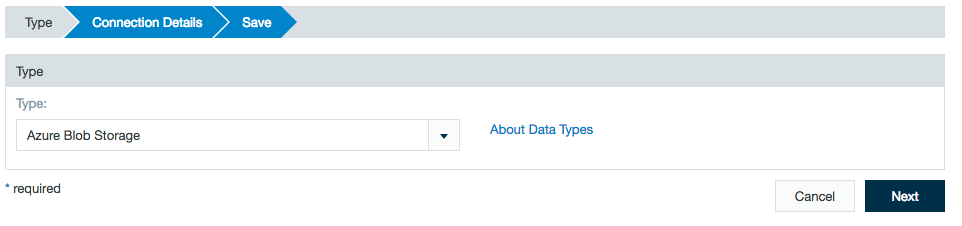
- Click the + (plus) button and select Connection or right-click in the browser and select Create new > Connection.
- Click on the drop-down list and choose Azure Blob Storage as the connection type.
- Click Next.
- In the Storage Account Name field, enter the name of your Azure Blob Storage account.
- Add the container name you selected when creating your storage.
- Enter your access key and any necessary root path prefixes.
- Select whether the connection should be used for import, export, or both.
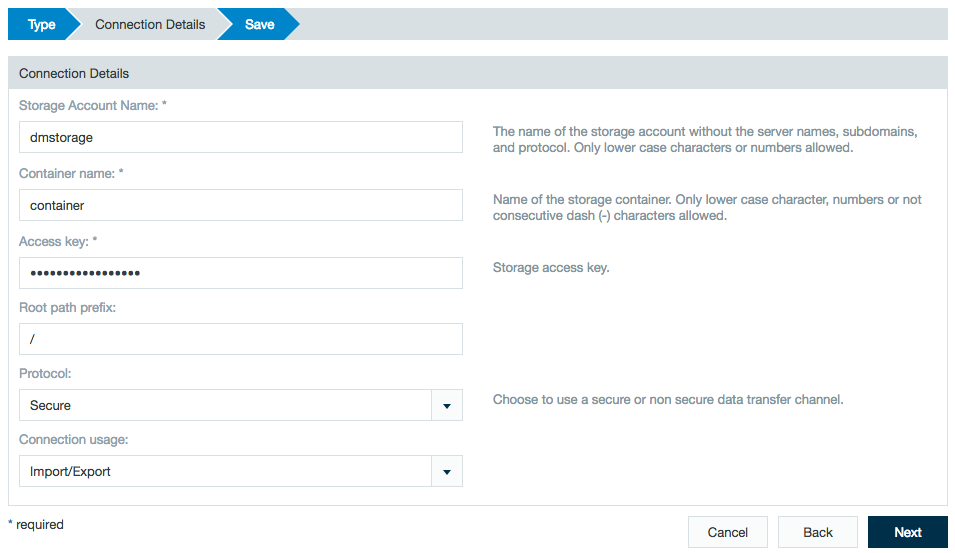
- Add a description and click Save.
- Give your Azure Blob Storage connection a name and click Save.
Importing Data with the Azure Blob Storage Connector
After configuring an Azure Blob Storage connection, you can set up one or more import jobs which access the Azure Blob Storage connection.
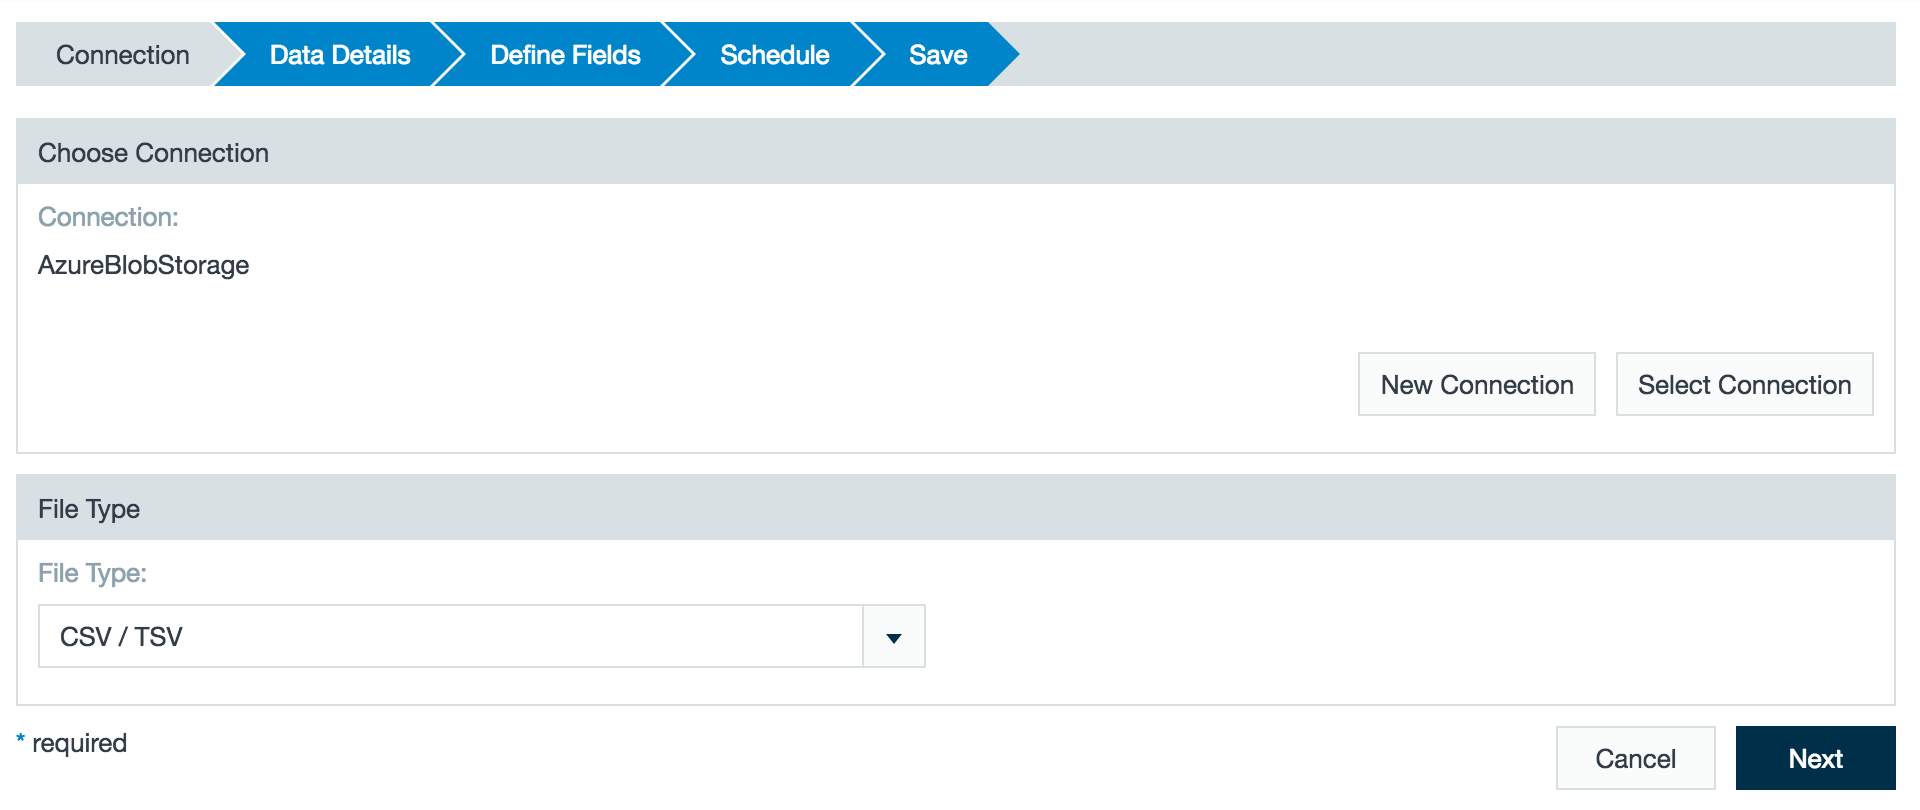
- Click the + (plus) button and select Import Job or right-click in the browser and select Create new > Import job.
- Click Select Connection and choose the name of your connection (here - AzureBlobStorage).
- Enter the path for a file or folder.
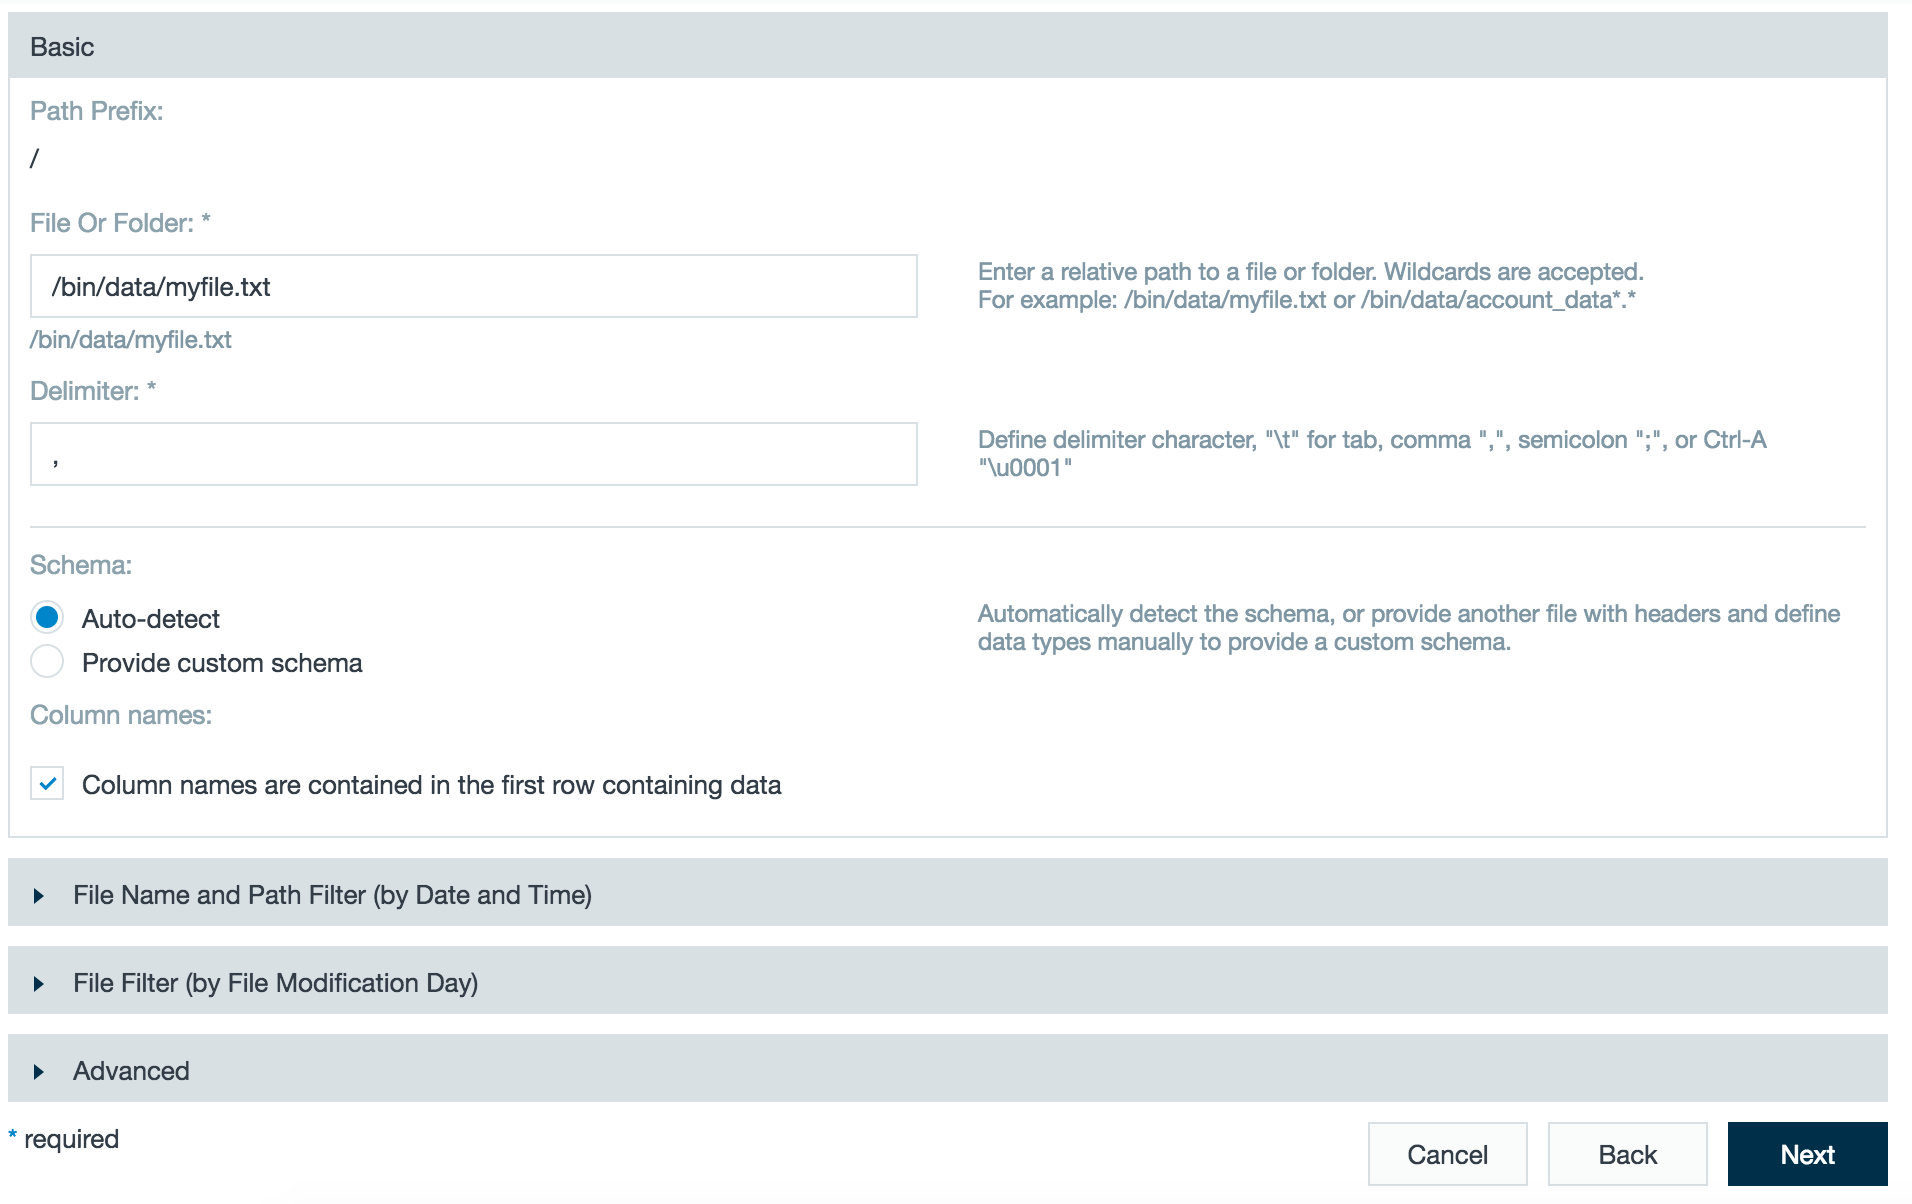
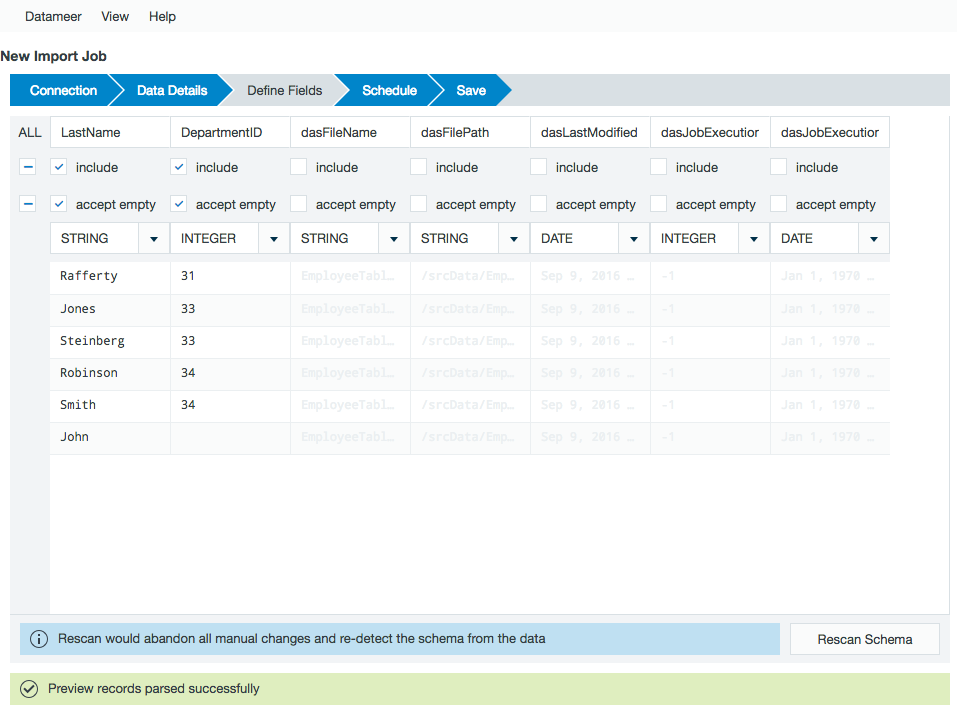
- A preview of the imported data is displayed. Review the schema.
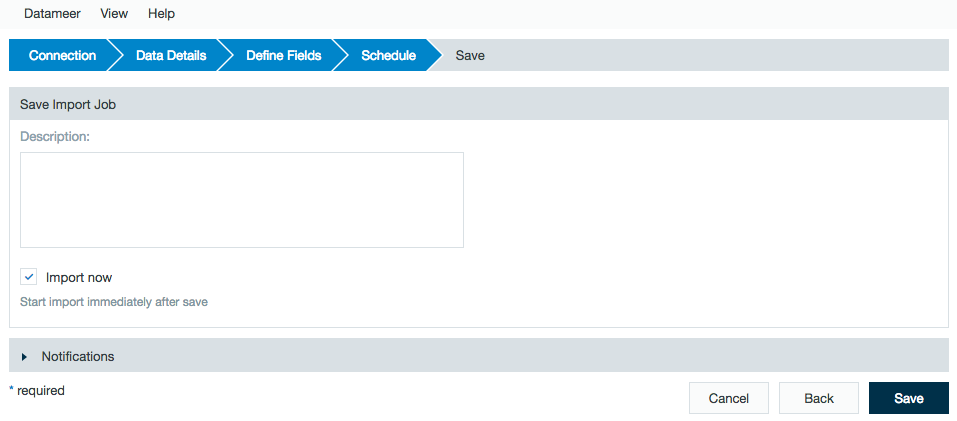
- Review the schedule, data retention, and advanced properties for the job.

- Add a description, click Save, and name the file.
, multiple selections available,
Related content
Azure Blob Storage
Azure Blob Storage
More like this
Azure Blob Storage
Azure Blob Storage
More like this
Azure Data Lake Storage Gen 2
Azure Data Lake Storage Gen 2
More like this
Configuring Datameer with Azure HDInsights
Configuring Datameer with Azure HDInsights
More like this
Configuring Datameer with Azure HDInsights
Configuring Datameer with Azure HDInsights
More like this
Configuring Datameer with Azure HDInsights
Configuring Datameer with Azure HDInsights
More like this