Date Partitioning: Getting the Most Out of Your Meaningful Segments
Partitioning your data when ingesting into Datameer X allows you to:
- Work with smaller segments of data.
- Eliminate the need for excessive filtering.
- Process down with smaller datasets.
- Swap for the larger dataset.
Downloading the Sample Dataset
Download: Weblogs.log (13 MB)
This sample data contains web traffic logs with a date column. If you would like to use time- based partitioning the same way we do in this demo, make sure your source has a DATE column.
Uploading the File
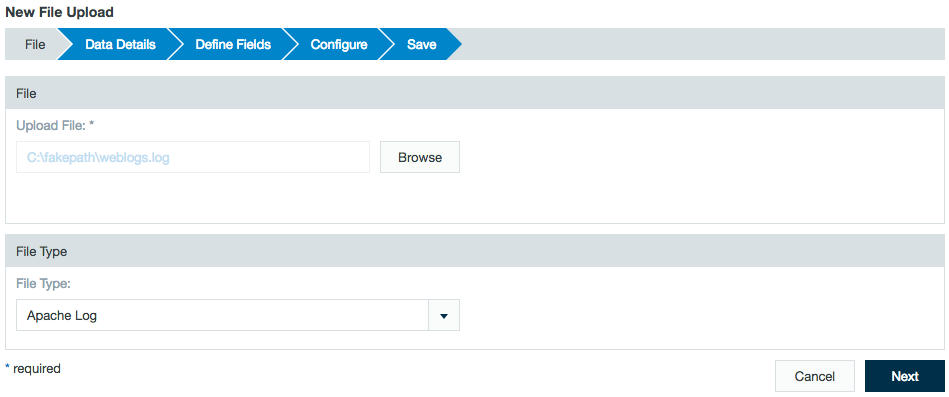
Choose the file to upload
Click the + (plus) button, select File Upload, select Weblogs.log, and select Apache Log for the file type.
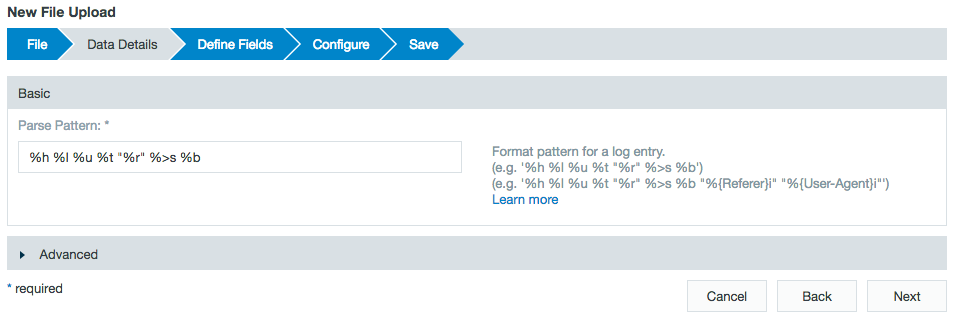
Determine your pattern
For an Apache Log, you must set a parse pattern for the log entry.
This demo data uses the example partition: %h %l %u %t "%r" %>s %b
After entering your parse pattern, click Next.
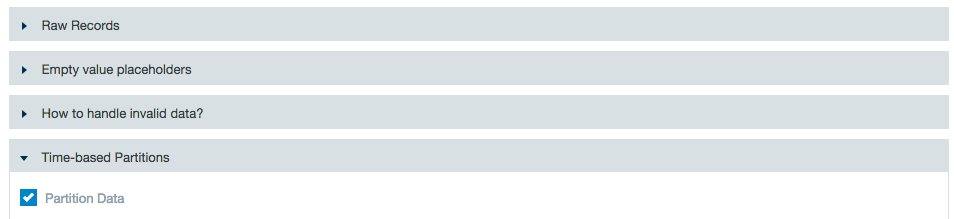
The next tab is Define Fields.
Open the Time-Based Partitions section and select Partition Data.
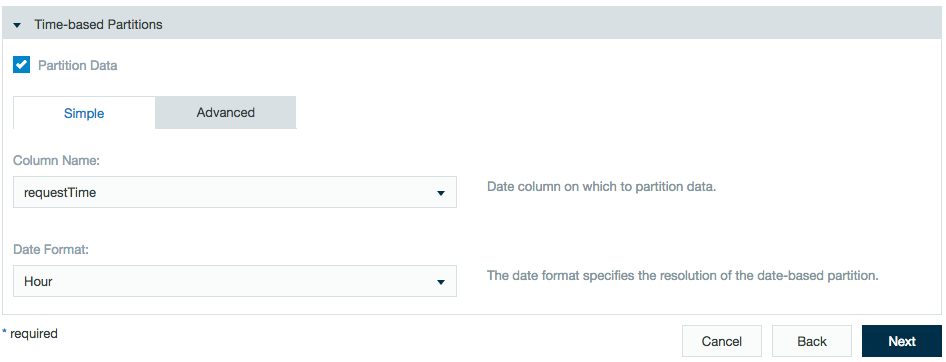
There are two different ways to partition: Simple and Advanced. This guide covers both options.
Simple
Select the date type column from your data set. In this case, it is requestTime.
Notice that only the date type column is displayed in this drop down menu as no other column can be partitioned using time.
With the simple partition, you can partition by YEAR, MONTH, DAY, or HOUR using the slider. Your data is broken down into smaller sections as you go down to hour.
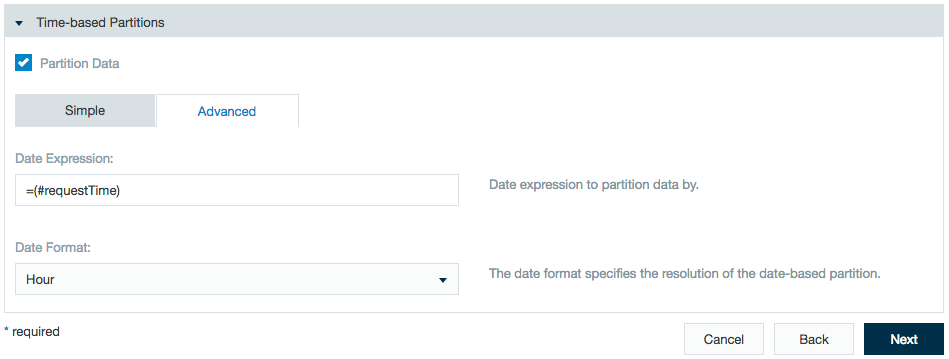
Advanced
The advanced tab gives you the option to write your own data expression.
If you would like to partition the data the same way, by hour, but using advanced partitioning, your expression would look like this: =(#requestTime)
The date expression names the column and the date format is still set using the slider at the bottom.
Complete your file upload, save the upload, and run it.
Choose your partition
Right-click on the newly uploaded log file in your browser and select Add Data To New Workbook.
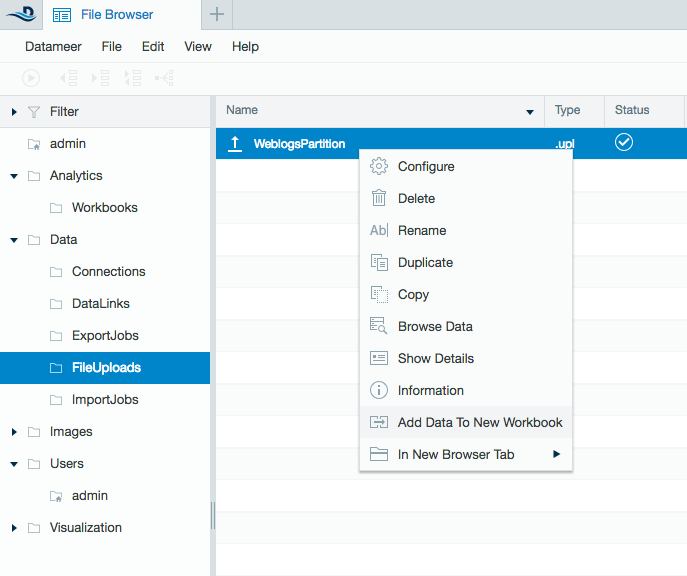
The Select Partitions wizard is displayed. Here, you select the data to bring into your workbook.
This also determines the data set that your workbook runs against. Here are the three ways to select your partition: Simple, Time Window, or Advanced.
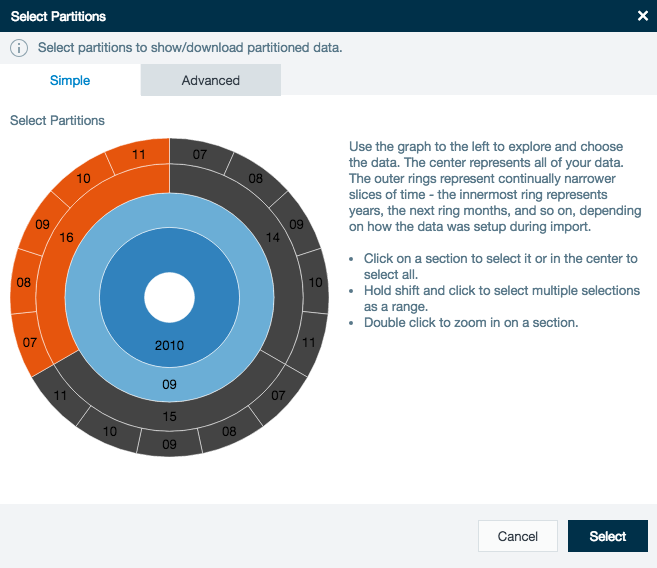
Simple
Simple selection is the most basic of the three. Click in the sections you want to bring in. The chosen section turns grey.
From the center of the circle, you start with all data, then radiate out to Year, Month, Day, and Hour. To select more than one section, hold the shift key.
Advanced
Advanced partition filtering requires an expression to be written. For example, if you would like to bring in all data from Sept 14th and 15th, your expression would look like this:
$partition >= ASDATE("14-09-2010 00:00:00.000"; "dd-MM-yyyy HH:mm:ss.SSS") && $partition < ASDATE("16-09-2010 00:00:00.000"; "dd-MM-yyyy HH:mm:ss.SSS")
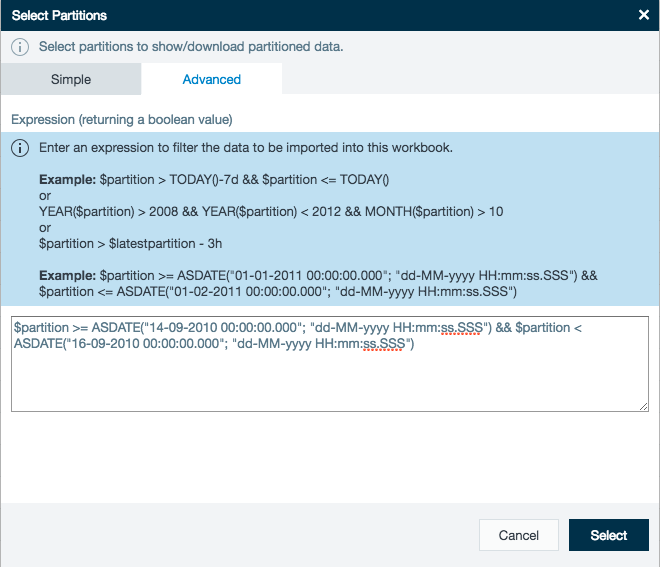
The expression is stating that the partition ($partition) is greater than or equal (>=) to the date with pattern (ASDATE("14-09-2010"; "dd-MM-yyyy “) AND (&&) is less than (<) the second date with pattern.
Once you link your data, you can update the partition by clicking on the Partition icon in the menu bar, or select the Data > Partition.
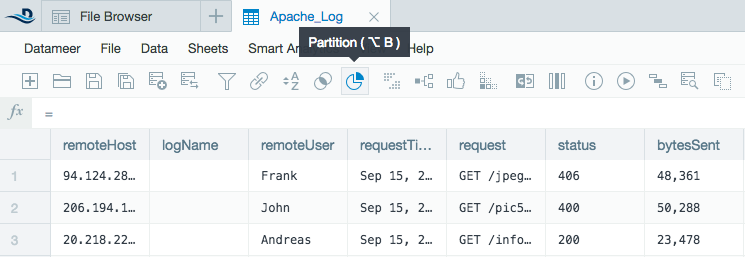
This action allows you to either choose a different partition or select all of the data.
Try running with a small partition against the entire data set and compare run times.