You can configure database drivers for Datameer. Once you add a database driver, then you can create a connection of that type of database. You can also configure the mail server settings Datameer X uses. To add and manage users, see: Managing User Accounts
Database Drivers
You are presumed to know what types of databases you have available, their addresses, ports, and login information. If you do not have this information readily available, you need to contact someone within your own organization who can assist you.
- For example, you need to be able to provide the following information:
- Name: DB2
- Jar File: db2jcc4.jar
- Dialect : DB2-Dialect
- Driver Class: com.ibm.db2.jcc.DB2Driver
- Connection Pattern: jdbc:db2://%host%:%port%/%dbName%[:property1=value;property2=value;]
See the following page for more details: /wiki/spaces/DASSB100/pages/32569526861
Add drivers
To add a database driver:
- Click the Admin tab and click the Database Drivers tab on the left.
- Click New.
- Enter a name for the new JDBC driver.
- Click Browse to navigate to where the JAR file is located.
- Select a database drive template based on the type of database you are using such as MySQL or Oracle.
- Enter a driver class.
- Enter a connection pattern.
- Click Save.
Edit drivers
To edit a database driver:
- Click the Admin tab and click the Database Drivers tab on the left.
- Click Configure for the driver you want to edit.
- Make your changes and click Save.
Mail Server
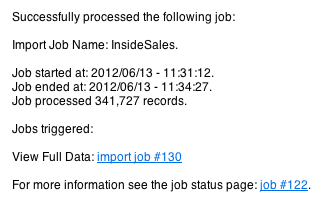
You can configure and test the mail settings that Datameer X uses to send notifications such as log file reports.
These email notifications can be useful to keep track of what has been processed and if a failure occurs, why the failure occurred.
The URL used in the notification email is configured in conf/live.properties using the Installation Guide.
Prerequisites
Before logging into Datameer X open and edit the following property:
system.property.server.address=
The default setting is to your local host. Configure this property to the machine on which Datameer X is hosted.
You also need to know the host name and SMTP port for the mail server.
Set up email notification
Click the Admin tab.
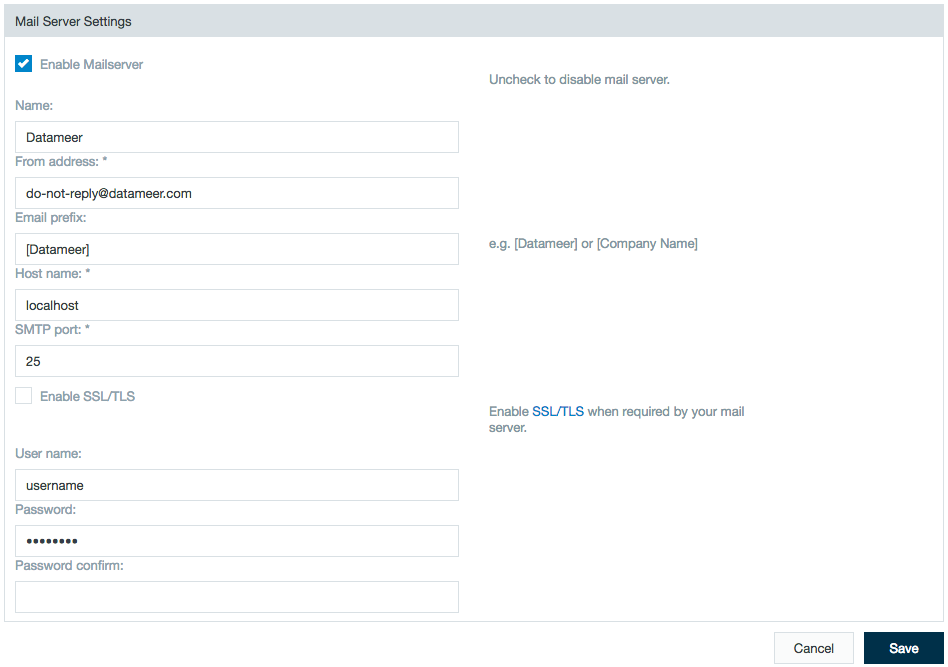
- Click the Mail Server tab at the left side and click Edit.
- Edit the mail server settings as needed and click Save.
- Name is who the email is listed as coming from. The From address should be the email address or email list of the department responsible for Datameer X (IT) or the admin team (something like dmadmin@<domain>.<tld>).
- Extended the email prefix with further annotations.
- The host name and SMTP port identifies your mail server. Datameer X recommends enabling SSL/TLS for transport encryption if available.
- The username and password is used if you need to login and authenticate to the mail server to send email messages. Depending on your configuration, it might not be needed.
Test the mail server
- Click the Admin tab.
- Click the Mail Server tab at the left side and click Send Test Mail.
- Enter information into the To, Subject, and Message fields and click Send.