Datameer doesn't generate Hive queries when connecting to Hive for data retrieval. Datameer can leverage a Thrift server or point directly to a Thrift warehouse path in HDFS when data is stored in a delimited fashion.
Configuring Hive as a Connection
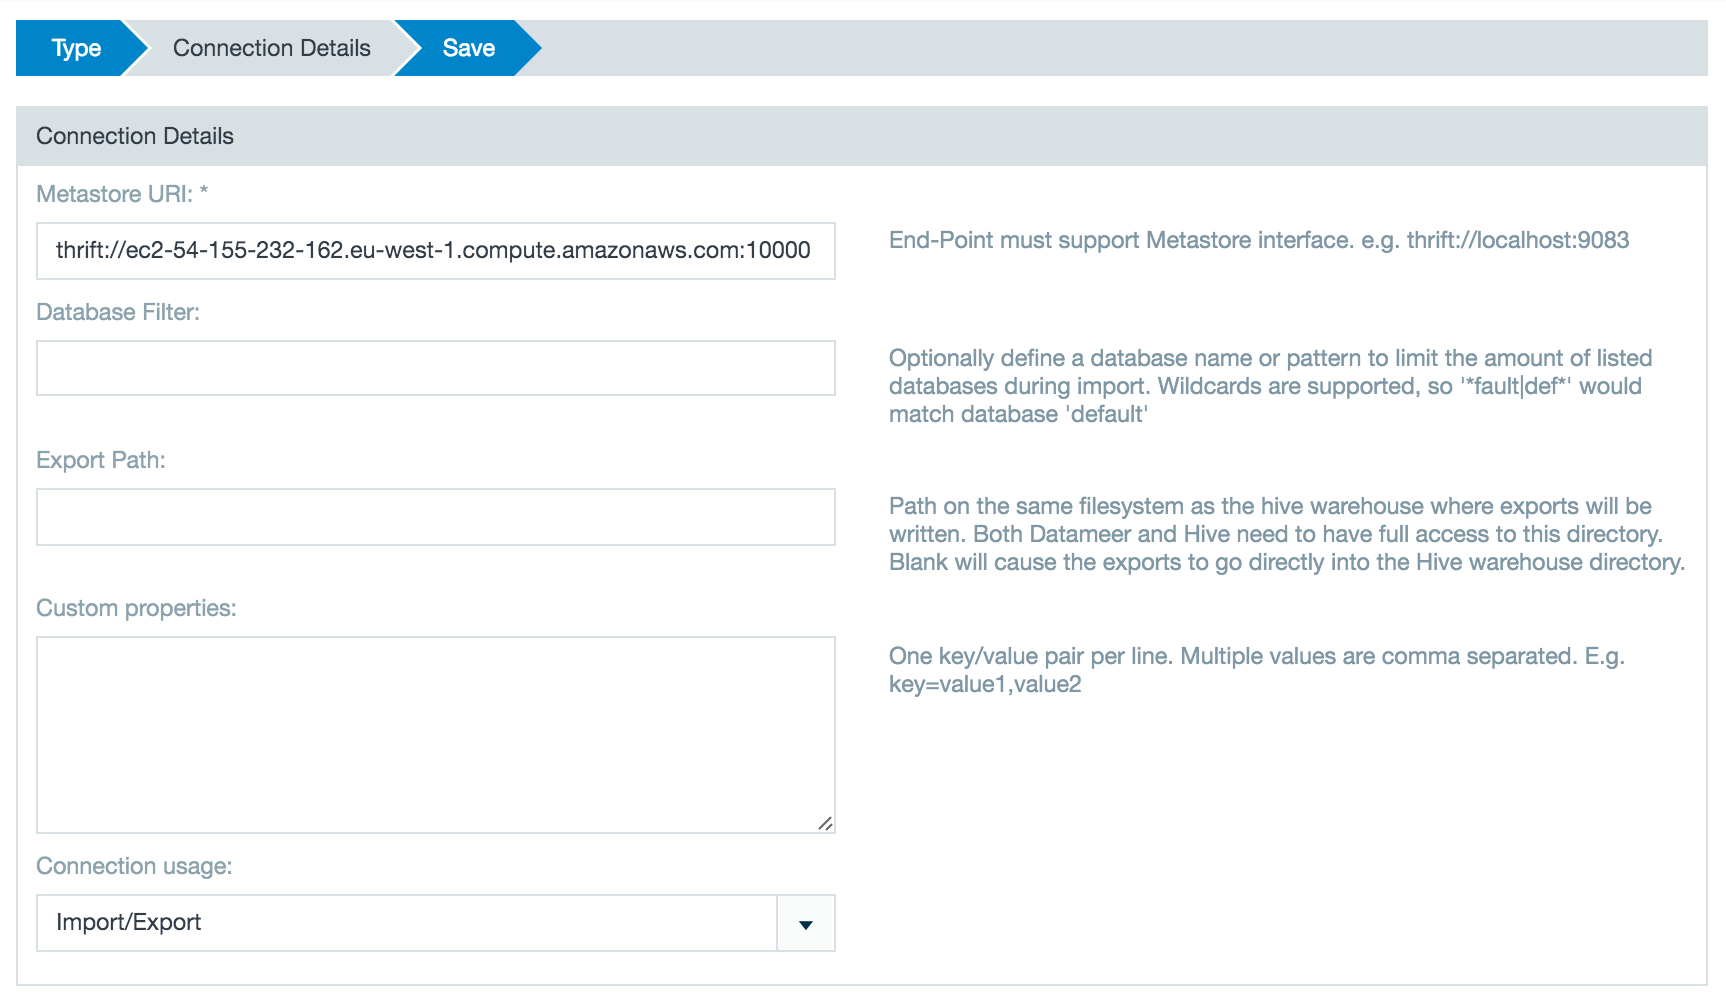
In order to import from Hive, you must first create a connection .
- Click the + (plus) button and select Connection or right-click in the browser and select Create new > Connection .
- From the drop-down list select Hive as the connection type.
Enter the URI for the Hive metastore server, they usually run on port 10000 or 9083.
Add any custom properties that might be necessary or desired when importing from Hive.High Availability (HA)
If high availability (HA) for the Hive metastore is enabled on cluster, users must provide both thrift URLs separated by commas while creating the Hive connection.
Additional Security Settings
If you are connecting to Hive v0.10 or higher there are additional possible security settings. Select Yes to enable the secure Hive features and enter the metastore and HDFS principals.
Metastore Principal: Service principal for the metastore thrift server. The special string _HOST is replaced automatically with the correct host name.
HDFS Principal: Principal name of the Hadoop namenode.
- Enter a description and click Save.
Importing Data with a Hive Connector
After configuring a Hive connection the wizard you can set up one or more import jobs which access the Hive connection.
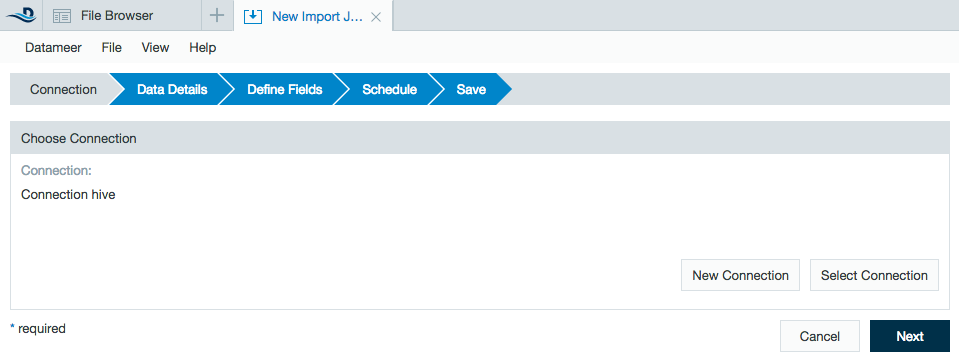
- Click the + (plus) button and selectImport Jobor right-click in the browser and select Create new >Import Job.
- Click Select Connection and choose the name of your Hive connection (here - Connection hive) then click Next.
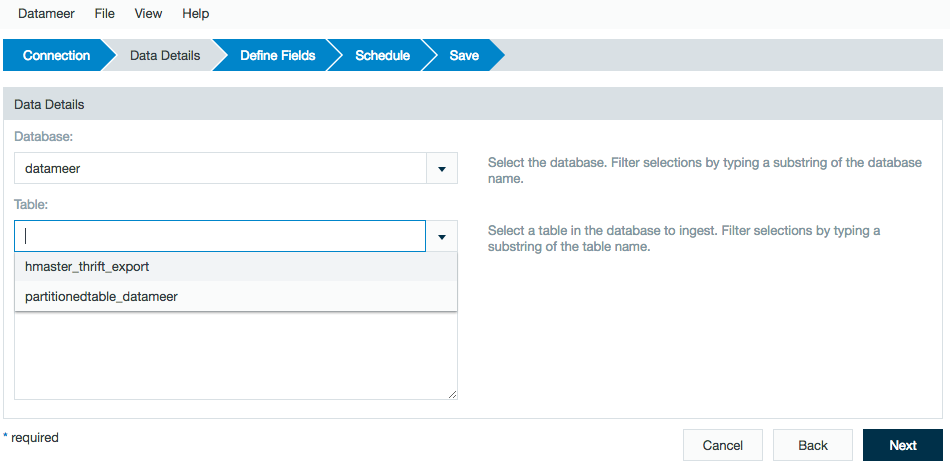
Select a database.
Choose the desired table.
Supported Hive File Formats
TEXTFILE - Plain text.
SEQUENCEFILE - A flat file consisting of binary key/value pairs. It is extensively used in MapReduce as input/output formats.
ORC (Optimized Row Columnar) - A file format that provides a highly efficient way to store Hive data. It was designed to overcome limitations of the other Hive file formats. Using ORC files improves performance when Hive is reading, writing, and processing data.
RCFILE (Record Columnar File) - A data placement structure that determines how to store relational tables on computer clusters. It is designed for systems using the MapReduce framework.
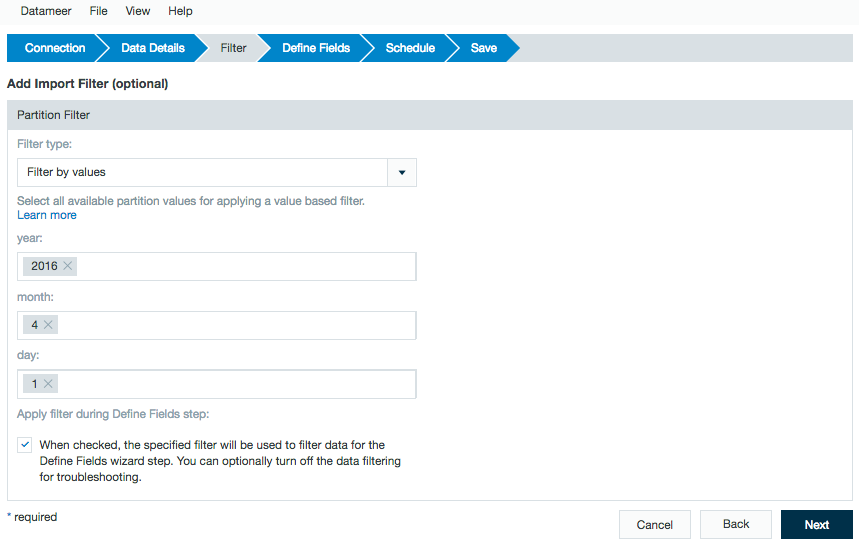
Partitions from Hive being imported have additional filtering options. This works for both string and date/time partitions.
The following options are available:- Filter by values - Select all available partition values for applying a value based filter.
- Filter by fixed dates - Parse partition values for date and time constants and use start and end date for applying a time based filter for partitions. You have to specify a Java date pattern for each partition that is related to a date.
- Filter by dynamic dates - Parse partition values for date and time constants and use start and end date expression for applying a filter based on a sliding time window. You have to specify a Java date pattern for each partition that is related to a date.
This filter feature allows for import of data that has already been partitioned on the Hive server. To view how date/time partitions work in data links, refer to Linking to Data. To create partitions within a Datameer workbook, use the Time-based Partitions feature under the Define Fields section of the import.
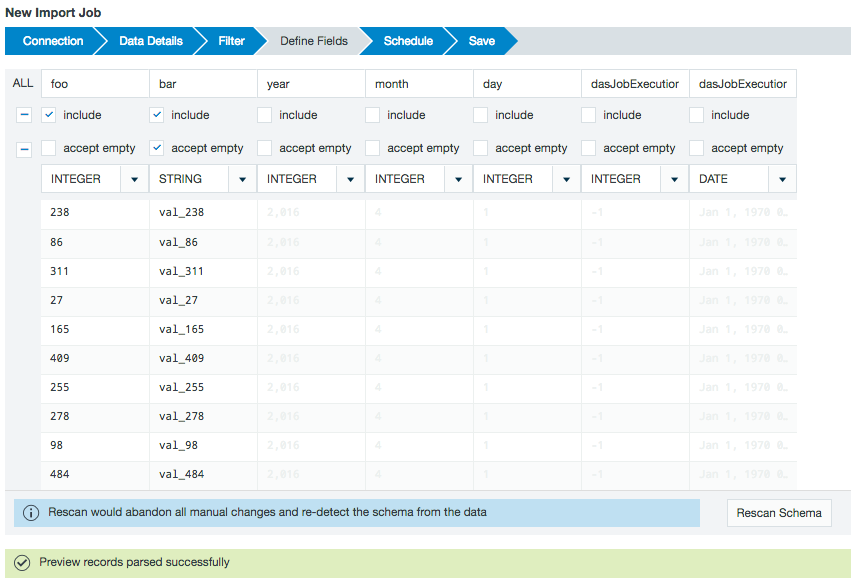
Next, you see a preview of the imported data.
From the Define Fields page, you can change the data field types and if necessary, set up date parse patterns.
By default, the preview includes the columns within the Hive partition but not the partition values. If needed, add the partition values to the import job by marking the included box under the column name.Complex data field types (e.g., lists, structs, maps, and any nested data types) are represented as JSON and displayed as strings.
You can extract and use this data with the JSON functions (i.e. JSON_ELEMENT, JSON_ELEMENTS, JSON_KEYS, JSON_MAP or JSON_VALUE) after loading this data into a workbook.Datameer jobs are compiled outside of Hive and don't have the same restrictions as Hive queries do. A workbook in Datameer isn't a direct analog to a Hive query and there are often concepts that don't translate back and forth as one-to-one features.
A filter is similar to a where clause. It restricts the results on only include results that match the requested search criteria.
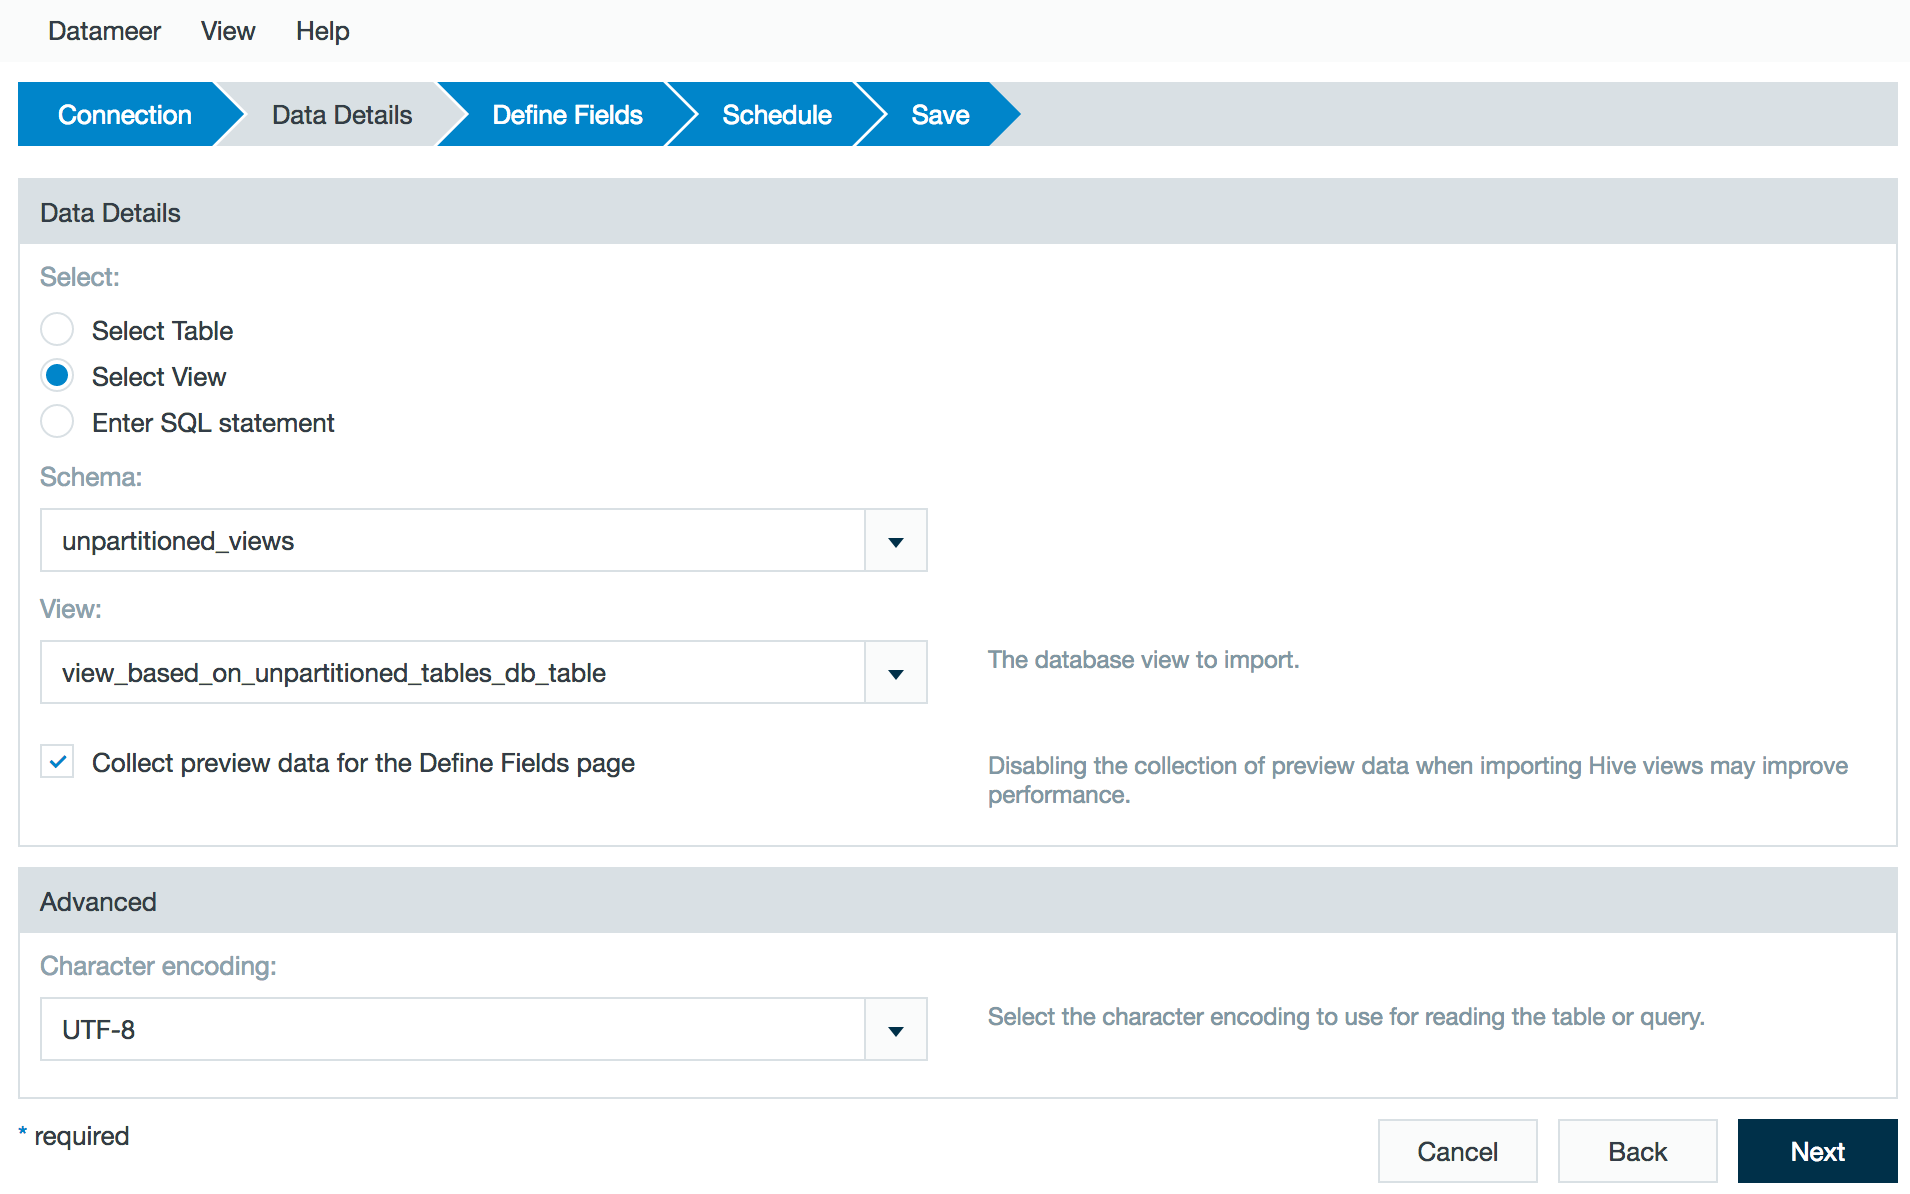
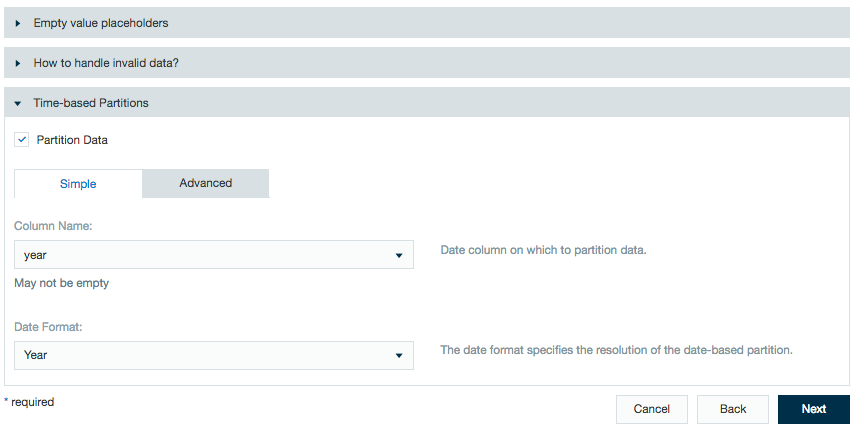
Additional advanced features are available to specify how to handle the data.
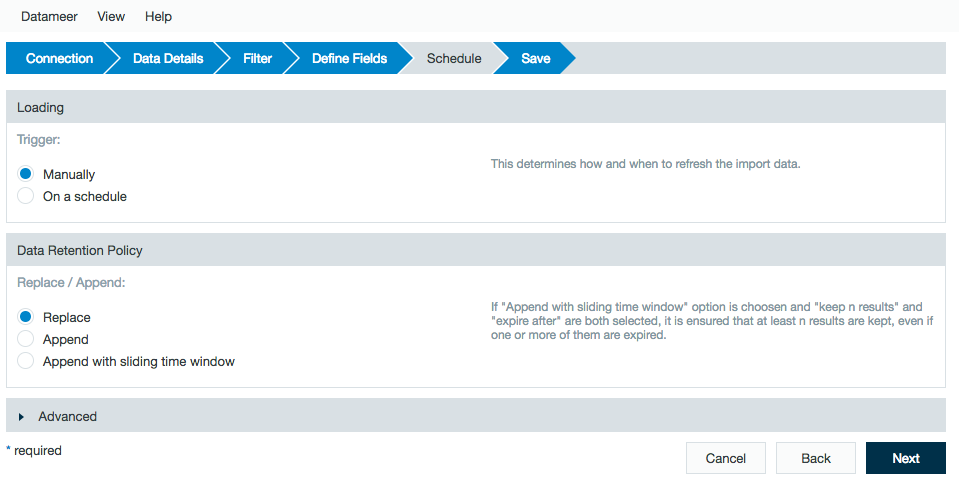
Time-based partitions let workbook users partition data by date. This features allows calculations to run on all or only specific parts of the imported data. See Partitioning Data in Datameer for more information.Review the schedule, data retention, and advanced properties for the job.
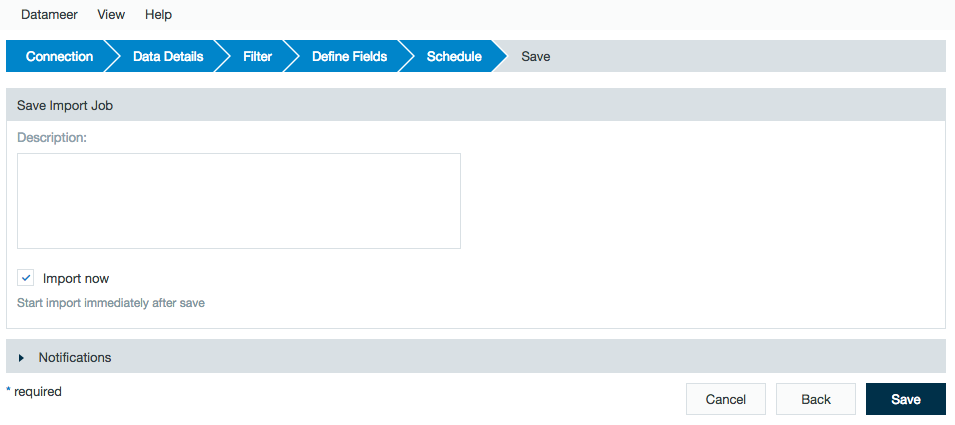
Add a description, click Save, and name the file.
Using a Custom Hive SerDe Library
SerDe is short for Serializer/Deserializer. A SerDe allows Hive to read in data from a table, and write it back out to HDFS in any custom format. You can write your own SerDe for your own data formats in Datameer.
The classes for your Hive SerDe must be in the classpath of the Hive plug-in used to connect Datameer to Hive. Datameer provides Hive plug-ins for major versions of Hive. (e.g., 0.13.1, 0.14.0, 1.1.0, 1.2.0, 1.2.1) from CDH, MAPR, HDP, and APACHE distributions.
To add your custom SerDe to Datameer:
Determine the version of Hive you're using. (e.g., 0.7)
Shutdown Datameer.
unzip <Datameer Install folder>/plugins/plugin-hive-<Hive Version>-<Datameer Version>.zipAdd the JAR file of your SerDe to:
/lib/compile/hadoop and rezip.Remove the corresponding .md5 file, if it exists. (e.g.,
plugin-hive-0.14.0-6.4.0.zip)Restart Datameer.
If you run into problem, review Apache Hive - Custom SerDes and get in contact with the vendor of your 3rd party product/library.
Adding only the custom SerDe may not suffice. Additional steps may be required depending on your Hive product.

