This connector is a powerful tool to perform searches on Twitter. You can create searches using Twitter REST API calls.
In order to use the Twitter connector, it is required that you have:
- a Twitter account
- Twitter developer access
- a Twitter developer app to use with Datameer
Configuring the Twitter Plug-in
To create a connection to Twitter, you must first configure the Twitter plug-in as an administrator.
- Click on the Admin tab and select Plug-ins from the menu on the left.
- Find the Twitter Plug-in and click on the gear icon to open the configuration options.
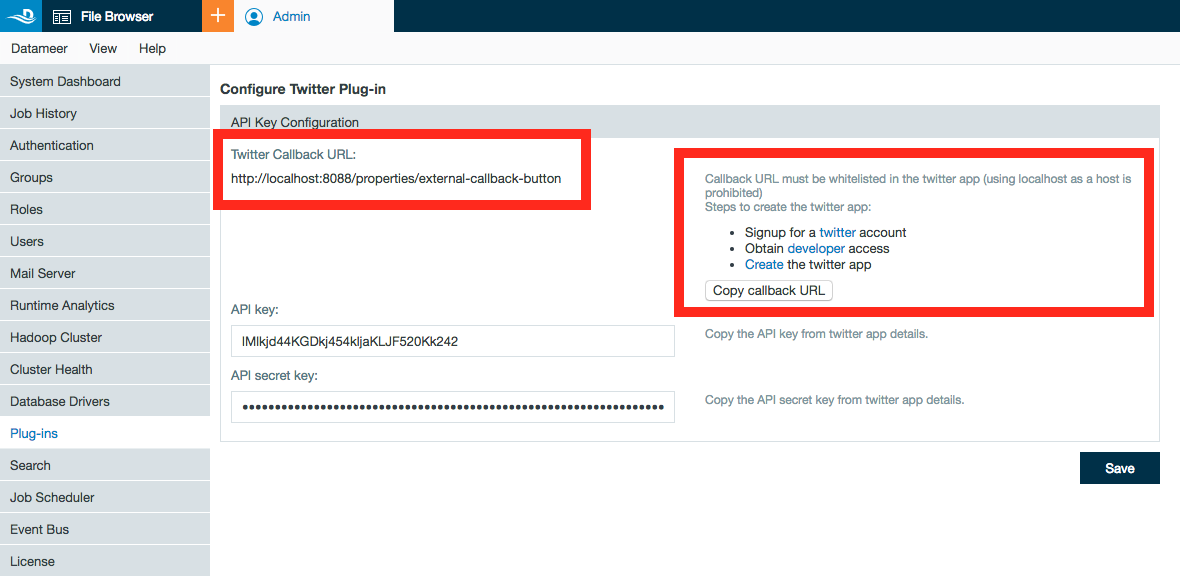
- Copy the Twitter Callback URL.
- Log into your Twitter developer account profile and find the app you created associated with Datameer.
- Open the Twitter app and enter/paste the Callback URL.
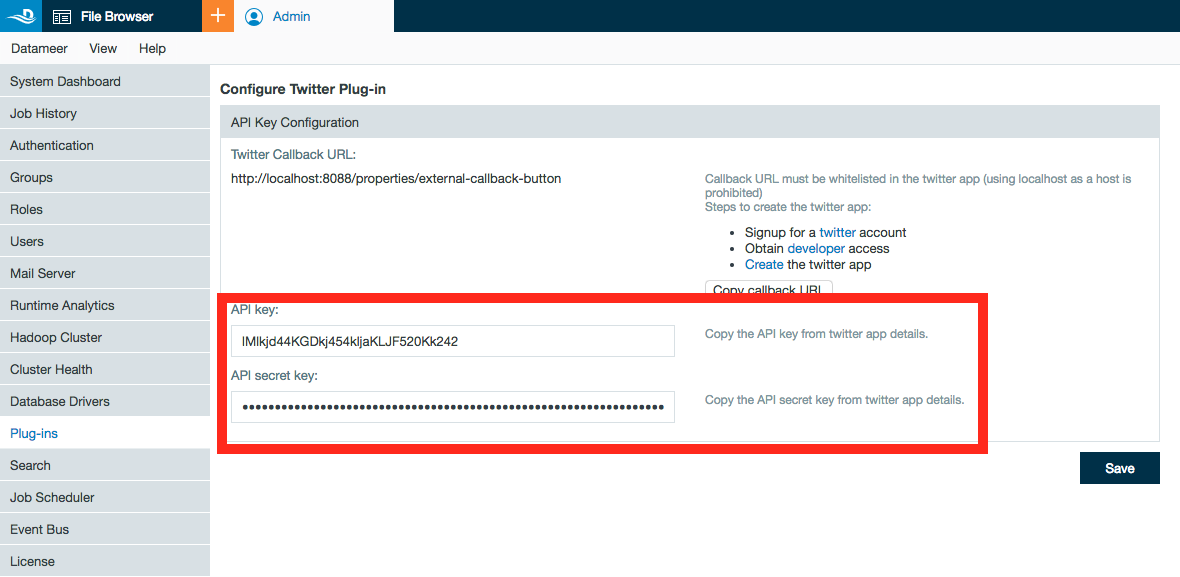
- In your Twitter developer app, click on the Keys and Tokens tab. Copy your API key and API key secret.
- In the Datameer Twitter Plug-in Configuration, enter your API key and API key secret.
- Click Save.
Configuring Twitter REST API as a Connection
- Click the + (plus) button and select Connection or right-click in the browser and select Create new > Connection.
- Choose Twitter Rest API from the drop-down list.
- To connect to your Twitter Rest API account, click Authorize Datameer to receive data. You are taken to a Google portal to generate an OAuth access token for Datameer. The OAuth code is automatically transferred to the appropriate field.
- If required, add a description and click Save.
Importing Data with the Twitter REST API Connector
- Click the + (plus) button and select Import Job or right-click in the browser and select Create new > Import Job.
- Click Select Connector, choose the Twitter Rest API connector, and click Next.
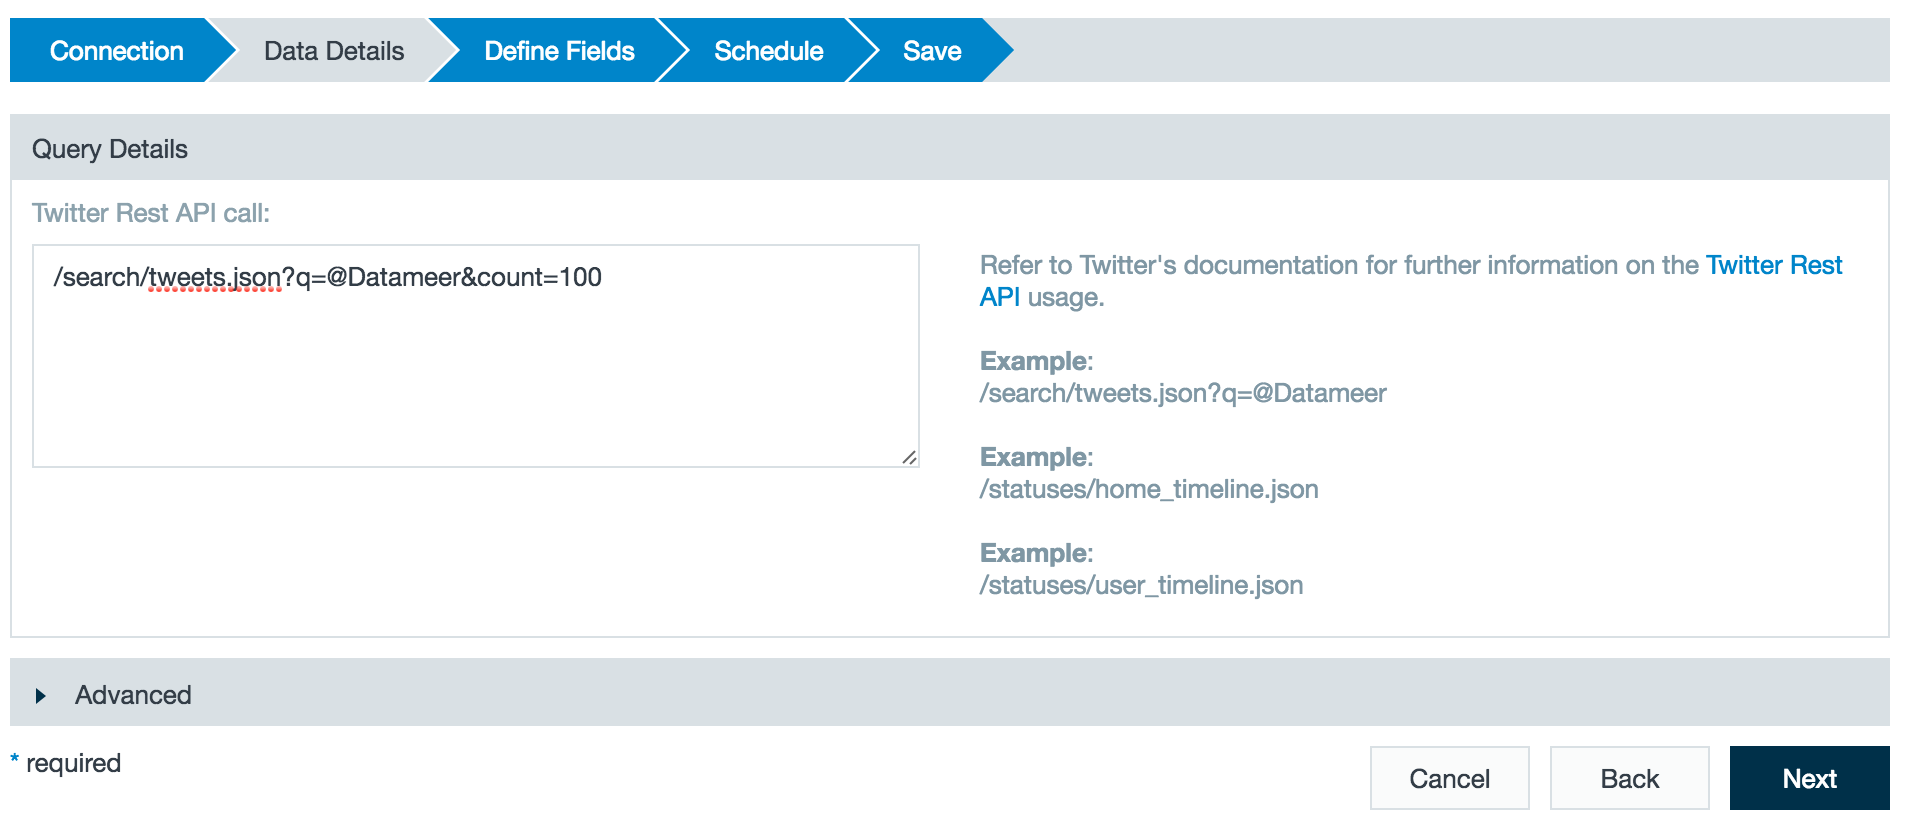
- Enter a Twitter Rest API Call and click Next.
- Review the defined fields and click Next.
- Review the schedule and advanced properties for the job and click Next.
- Create a description for the import job and click Save.


